New Masters Academy - Steve Huston - Art Anatomy for Beginners (2020)
magnet:?xt=urn:btih:daced13699628ef87719f4f65a93f3d0a0134b91&dn=New+Masters+Academy+-+Steve+Huston+-+Art+Anatomy+for+Beginners+%282020%29
이미지 (206개)
-
Week 1 - Intro to the Human Machine/References/AASH_-1.jpg 10.6 MiB
-
Week 1 - Intro to the Human Machine/References/AASH_-2-scaled.jpg 201.1 KiB
-
Week 1 - Intro to the Human Machine/References/AASH_-3.jpg 11.3 MiB
-
Week 1 - Intro to the Human Machine/References/AASH_-4-scaled.jpg 260.6 KiB
-
Week 1 - Intro to the Human Machine/References/AASH_-5.jpg 11.6 MiB
-
Week 1 - Intro to the Human Machine/References/AASH_-6-scaled.jpg 249.6 KiB
-
Week 1 - Intro to the Human Machine/References/AASH_-7-scaled.jpg 240.6 KiB
-
Week 1 - Intro to the Human Machine/References/AASH_-8-scaled.jpg 193.9 KiB
-
가져오기 대기 중Week 1 - Intro to the Human Machine/References/AASH_-9-scaled.jpg 203.6 KiB
-
Week 1 - Intro to the Human Machine/References/AASH_-10.jpg 12.6 MiB
-
가져오기 대기 중Week 1 - Intro to the Human Machine/References/AASH_-11-1-scaled.jpg 349.1 KiB
-
Week 1 - Intro to the Human Machine/References/AASH_-11.jpg 11.2 MiB
-
가져오기 대기 중Week 1 - Intro to the Human Machine/References/AASH_-12-1-scaled.jpg 420.8 KiB
-
Week 1 - Intro to the Human Machine/References/AASH_-12.jpg 13.5 MiB
-
가져오기 대기 중Week 1 - Intro to the Human Machine/References/AASH_-13-1-scaled.jpg 296.3 KiB
-
가져오기 대기 중Week 1 - Intro to the Human Machine/References/AASH_-13-scaled.jpg 228.2 KiB
-
Week 1 - Intro to the Human Machine/References/AASH_-14.jpg 11.0 MiB
-
Week 1 - Intro to the Human Machine/References/AASH_-15.jpg 9.8 MiB
-
Week 1 - Intro to the Human Machine/References/AASH_-16-scaled.jpg 319.1 KiB
-
Week 1 - Intro to the Human Machine/References/AASH_-17-scaled.jpg 250.0 KiB
-
Week 1 - Intro to the Human Machine/References/AASH_-18-scaled.jpg 306.6 KiB
-
Week 1 - Intro to the Human Machine/References/AASH_-19-scaled.jpg 196.3 KiB
-
Week 1 - Intro to the Human Machine/References/AASH_-20-scaled.jpg 306.2 KiB
-
Week 1 - Intro to the Human Machine/References/AASH_-21-scaled.jpg 189.8 KiB
-
Week 1 - Intro to the Human Machine/References/AASH_-22.jpg 12.7 MiB
-
Week 1 - Intro to the Human Machine/References/AASH_-23-scaled.jpg 334.8 KiB
-
Week 1 - Intro to the Human Machine/References/AASH_-24-scaled.jpg 251.8 KiB
-
Week 1 - Intro to the Human Machine/References/AASH_-25-scaled.jpg 262.5 KiB
-
Week 1 - Intro to the Human Machine/References/AASH_-26-scaled.jpg 286.5 KiB
-
Week 1 - Intro to the Human Machine/References/AASH_-27-scaled.jpg 211.6 KiB
-
Week 1 - Intro to the Human Machine/References/AASH_-28-scaled.jpg 335.1 KiB
-
Week 1 - Intro to the Human Machine/References/AASH_-29-scaled.jpg 210.5 KiB
-
Week 1 - Intro to the Human Machine/References/AASH_-30-scaled.jpg 204.6 KiB
-
Week 1 - Intro to the Human Machine/References/AASH_-31-scaled.jpg 245.2 KiB
-
Week 1 - Intro to the Human Machine/References/AASH_-32-scaled.jpg 246.7 KiB
-
Week 1 - Intro to the Human Machine/References/AASH_-33-scaled.jpg 236.6 KiB
-
Week 1 - Intro to the Human Machine/References/AASH_-34-scaled.jpg 244.0 KiB
-
Week 1 - Intro to the Human Machine/References/AASH_-35-scaled.jpg 287.3 KiB
-
Week 1 - Intro to the Human Machine/References/AASH_-36.jpg 12.7 MiB
-
Week 1 - Intro to the Human Machine/References/AASH_-37.jpg 12.6 MiB
-
Week 1 - Intro to the Human Machine/References/AASH_-38.jpg 13.1 MiB
-
Week 1 - Intro to the Human Machine/References/AASH_-39.jpg 13.5 MiB
-
Week 1 - Intro to the Human Machine/References/AASH_-61-scaled.jpg 429.1 KiB
-
Week 1 - Intro to the Human Machine/References/AASH_-63-scaled.jpg 528.3 KiB
-
Week 1 - Intro to the Human Machine/References/AASH_-67-scaled.jpg 439.2 KiB
-
Week 1 - Intro to the Human Machine/References/AASH_-74-scaled.jpg 300.3 KiB
-
Week 1 - Intro to the Human Machine/References/week_01_banner.jpg 191.0 KiB
-
Week 2 - The Shoulder Girdle/References/AASH_-4-1-scaled.jpg 493.2 KiB
-
Week 2 - The Shoulder Girdle/References/AASH_-45-scaled.jpg 431.5 KiB
-
Week 2 - The Shoulder Girdle/References/AASH_-54-scaled.jpg 419.1 KiB
-
Week 2 - The Shoulder Girdle/References/AASH_-58-scaled.jpg 441.1 KiB
-
Week 2 - The Shoulder Girdle/References/AASH_-62-scaled.jpg 502.4 KiB
-
Week 2 - The Shoulder Girdle/References/AASH_-64-scaled.jpg 413.4 KiB
-
Week 2 - The Shoulder Girdle/References/AASH_-65-scaled.jpg 371.2 KiB
-
Week 3 - The Torso/References/AASH_-2-1-scaled.jpg 439.7 KiB
-
Week 3 - The Torso/References/AASH_-3-1-scaled.jpg 551.6 KiB
-
Week 3 - The Torso/References/AASH_-5-1-scaled.jpg 949.5 KiB
-
Week 3 - The Torso/References/AASH_-14-1-scaled.jpg 533.5 KiB
-
Week 3 - The Torso/References/AASH_-41-scaled.jpg 461.4 KiB
-
Week 3 - The Torso/References/AASH_-69-scaled.jpg 411.8 KiB
-
Week 3 - The Torso/References/AASH_-71-scaled.jpg 538.2 KiB
-
Week 3 - The Torso/References/AASH_-72-scaled.jpg 320.1 KiB
-
Week 3 - The Torso/References/MAP_-1.jpg 16.3 MiB
-
Week 3 - The Torso/References/MAP_-2.jpg 16.8 MiB
-
Week 3 - The Torso/References/MAP_-3.jpg 16.3 MiB
-
Week 3 - The Torso/References/MAP_-4.jpg 16.4 MiB
-
Week 3 - The Torso/References/MAP_-5.jpg 16.6 MiB
-
Week 3 - The Torso/References/MAP_-6.jpg 16.5 MiB
-
Week 3 - The Torso/References/MAP_-7.jpg 16.1 MiB
-
Week 3 - The Torso/References/MAP_-8.jpg 16.2 MiB
-
Week 3 - The Torso/References/MAP_-9.jpg 16.7 MiB
-
Week 3 - The Torso/References/MAP_-10.jpg 16.4 MiB
-
Week 3 - The Torso/References/MAP_-11.jpg 15.9 MiB
-
Week 3 - The Torso/References/MAP_-12.jpg 13.0 MiB
-
Week 3 - The Torso/References/MAP_-13.jpg 13.0 MiB
-
Week 3 - The Torso/References/MAP_-14.jpg 15.7 MiB
-
Week 3 - The Torso/References/MAP_-15.jpg 15.6 MiB
-
Week 3 - The Torso/References/MAP_-16.jpg 15.6 MiB
-
Week 3 - The Torso/References/MAP_-17.jpg 15.8 MiB
-
Week 3 - The Torso/References/MAP_-18.jpg 15.6 MiB
-
Week 3 - The Torso/References/MAP_-19.jpg 15.7 MiB
-
Week 3 - The Torso/References/MAP_-20.jpg 15.6 MiB
-
Week 3 - The Torso/References/MAP_-21.jpg 15.6 MiB
-
Week 3 - The Torso/References/MAP_-22.jpg 16.0 MiB
-
Week 3 - The Torso/References/MAP_-23.jpg 15.7 MiB
-
Week 3 - The Torso/References/MAP_-24.jpg 15.9 MiB
-
Week 3 - The Torso/References/MAP_-25-scaled.jpg 245.8 KiB
-
Week 3 - The Torso/References/MAP_-26.jpg 15.2 MiB
-
Week 3 - The Torso/References/MAP_-27.jpg 15.8 MiB
-
Week 3 - The Torso/References/MAP_-28.jpg 15.5 MiB
-
Week 3 - The Torso/References/MAP_-29.jpg 15.3 MiB
-
Week 3 - The Torso/References/MAP_-30.jpg 14.0 MiB
-
Week 3 - The Torso/References/MAP_-31.jpg 15.4 MiB
-
Week 3 - The Torso/References/MAP_-32.jpg 12.2 MiB
-
Week 3 - The Torso/References/MAP_-33.jpg 15.2 MiB
-
Week 3 - The Torso/References/MAP_-34.jpg 15.1 MiB
-
Week 3 - The Torso/References/MAP_-35.jpg 15.1 MiB
-
Week 3 - The Torso/References/MAP_-36.jpg 15.3 MiB
-
Week 3 - The Torso/References/MAP_-37.jpg 15.1 MiB
-
Week 3 - The Torso/References/MAP_-38.jpg 15.2 MiB
-
Week 3 - The Torso/References/MAP_-39.jpg 15.2 MiB
-
Week 4 - The Limbs/References/AASH_-6-1-scaled.jpg 639.7 KiB
-
Week 4 - The Limbs/References/AASH_-7-1-scaled.jpg 449.5 KiB
-
Week 4 - The Limbs/References/AASH_-8-1-scaled.jpg 422.8 KiB
-
Week 4 - The Limbs/References/AASH_-9-1-scaled.jpg 453.0 KiB
-
Week 4 - The Limbs/References/AASH_-10-1-scaled.jpg 367.6 KiB
-
Week 4 - The Limbs/References/AASH_-40-scaled.jpg 738.9 KiB
-
Week 4 - The Limbs/References/AASH_-42-scaled.jpg 451.4 KiB
-
Week 4 - The Limbs/References/AASH_-43-scaled.jpg 441.6 KiB
-
Week 4 - The Limbs/References/AASH_-44-scaled.jpg 363.5 KiB
-
Week 4 - The Limbs/References/AASH_-60-scaled.jpg 477.4 KiB
-
Week 4 - The Limbs/References/MAP_-11.jpg 15.9 MiB
-
Week 4 - The Limbs/References/MAP_-12.jpg 13.0 MiB
-
Week 4 - The Limbs/References/MAP_-13.jpg 13.0 MiB
-
Week 4 - The Limbs/References/MAP_-14.jpg 15.7 MiB
-
Week 4 - The Limbs/References/MAP_-15.jpg 15.6 MiB
-
Week 4 - The Limbs/References/MAP_-16.jpg 15.6 MiB
-
Week 4 - The Limbs/References/MAP_-17.jpg 15.8 MiB
-
Week 4 - The Limbs/References/MAP_-18.jpg 15.6 MiB
-
Week 4 - The Limbs/References/MAP_-19.jpg 15.7 MiB
-
Week 4 - The Limbs/References/MAP_-20.jpg 15.6 MiB
-
Week 4 - The Limbs/References/MAP_-21.jpg 15.6 MiB
-
Week 4 - The Limbs/References/MAP_-22.jpg 16.0 MiB
-
Week 4 - The Limbs/References/MAP_-23.jpg 15.7 MiB
-
Week 4 - The Limbs/References/MAP_-24.jpg 15.9 MiB
-
Week 4 - The Limbs/References/MAP_-25-scaled.jpg 245.8 KiB
-
Week 4 - The Limbs/References/MAP_-26.jpg 15.2 MiB
-
Week 4 - The Limbs/References/MAP_-27.jpg 15.8 MiB
-
Week 4 - The Limbs/References/MAP_-28.jpg 15.5 MiB
-
Week 4 - The Limbs/References/MAP_-29.jpg 15.3 MiB
-
Week 4 - The Limbs/References/MAP_-30.jpg 14.0 MiB
-
Week 4 - The Limbs/References/MAP_-31.jpg 15.4 MiB
-
Week 4 - The Limbs/References/MAP_-32.jpg 12.2 MiB
-
Week 4 - The Limbs/References/MAP_-33.jpg 15.2 MiB
-
Week 4 - The Limbs/References/MAP_-34.jpg 15.1 MiB
-
Week 4 - The Limbs/References/MAP_-35.jpg 15.1 MiB
-
Week 4 - The Limbs/References/MAP_-36.jpg 15.3 MiB
-
Week 4 - The Limbs/References/MAP_-37.jpg 15.1 MiB
-
Week 4 - The Limbs/References/MAP_-38.jpg 15.2 MiB
-
Week 4 - The Limbs/References/MAP_-39.jpg 15.2 MiB
-
Week 5 - Hands & Feet/References/AASH_-46-scaled.jpg 560.9 KiB
-
Week 5 - Hands & Feet/References/AASH_-47-scaled.jpg 427.1 KiB
-
Week 5 - Hands & Feet/References/AASH_-48-scaled.jpg 493.3 KiB
-
Week 5 - Hands & Feet/References/AASH_-49-scaled.jpg 363.3 KiB
-
Week 5 - Hands & Feet/References/AASH_-50-scaled.jpg 379.5 KiB
-
Week 5 - Hands & Feet/References/AASH_-51-scaled.jpg 408.1 KiB
-
Week 5 - Hands & Feet/References/AASH_-52-scaled.jpg 371.2 KiB
-
Week 5 - Hands & Feet/References/AASH_-53-scaled.jpg 394.2 KiB
-
Week 5 - Hands & Feet/References/AASH_-55-scaled.jpg 460.3 KiB
-
Week 5 - Hands & Feet/References/AASH_-56-scaled.jpg 452.4 KiB
-
Week 5 - Hands & Feet/References/AASH_-57-scaled.jpg 429.7 KiB
-
Week 5 - Hands & Feet/References/AASH_-59-scaled.jpg 393.1 KiB
-
Week 5 - Hands & Feet/References/KeithPoses2-1-scaled.jpg 212.0 KiB
-
Week 5 - Hands & Feet/References/KeithPoses2-2.jpg 14.8 MiB
-
Week 5 - Hands & Feet/References/KeithPoses2-3-scaled.jpg 213.0 KiB
-
Week 5 - Hands & Feet/References/KeithPoses2-4.jpg 15.5 MiB
-
Week 5 - Hands & Feet/References/KeithPoses2-5-scaled.jpg 261.0 KiB
-
Week 5 - Hands & Feet/References/KeithPoses2-6-scaled.jpg 294.5 KiB
-
Week 5 - Hands & Feet/References/KeithPoses2-7-scaled.jpg 302.4 KiB
-
Week 5 - Hands & Feet/References/KeithPoses2-8.jpg 18.5 MiB
-
Week 5 - Hands & Feet/References/KeithPoses2-9-scaled.jpg 285.9 KiB
-
Week 5 - Hands & Feet/References/KeithPoses2-10.jpg 18.5 MiB
-
Week 5 - Hands & Feet/References/KeithPoses2-11-scaled.jpg 290.3 KiB
-
Week 5 - Hands & Feet/References/KeithPoses2-12-scaled.jpg 383.6 KiB
-
Week 5 - Hands & Feet/References/KeithPoses2-13.jpg 18.1 MiB
-
Week 5 - Hands & Feet/References/KeithPoses2-15-scaled.jpg 249.4 KiB
-
Week 5 - Hands & Feet/References/KeithPoses2-16-scaled.jpg 270.6 KiB
-
Week 5 - Hands & Feet/References/KeithPoses2-17-scaled.jpg 394.2 KiB
-
Week 5 - Hands & Feet/References/KeithPoses2-18.jpg 16.6 MiB
-
Week 5 - Hands & Feet/References/KeithPoses2-19.jpg 18.5 MiB
-
Week 5 - Hands & Feet/References/KeithPoses2-20.jpg 18.3 MiB
-
Week 5 - Hands & Feet/References/KeithPoses2-21.jpg 18.6 MiB
-
Week 5 - Hands & Feet/References/KeithPoses2-22.jpg 16.6 MiB
-
Week 5 - Hands & Feet/References/KeithPoses2-23.jpg 18.1 MiB
-
Week 5 - Hands & Feet/References/KeithPoses2-24.jpg 19.4 MiB
-
Week 5 - Hands & Feet/References/KeithPoses2-25.jpg 18.2 MiB
-
Week 6 - The Aesthetics of Anatomy/References/1.-A-027-Seated-Male-786x1024-1.jpg 181.3 KiB
-
Week 6 - The Aesthetics of Anatomy/References/2007BM5740_michelangelo_david_plaster_cast.jpg 338.5 KiB
-
Week 6 - The Aesthetics of Anatomy/References/AASH_-73-scaled.jpg 535.0 KiB
-
Week 6 - The Aesthetics of Anatomy/References/DP826907-scaled.jpg 874.8 KiB
-
Week 6 - The Aesthetics of Anatomy/References/KeithPoses2-1-scaled.jpg 212.0 KiB
-
Week 6 - The Aesthetics of Anatomy/References/KeithPoses2-2.jpg 14.8 MiB
-
Week 6 - The Aesthetics of Anatomy/References/KeithPoses2-3-scaled.jpg 213.0 KiB
-
Week 6 - The Aesthetics of Anatomy/References/KeithPoses2-4.jpg 15.5 MiB
-
Week 6 - The Aesthetics of Anatomy/References/KeithPoses2-5-scaled.jpg 261.0 KiB
-
Week 6 - The Aesthetics of Anatomy/References/KeithPoses2-6-scaled.jpg 294.5 KiB
-
Week 6 - The Aesthetics of Anatomy/References/KeithPoses2-7-scaled.jpg 302.4 KiB
-
Week 6 - The Aesthetics of Anatomy/References/KeithPoses2-8.jpg 18.5 MiB
-
Week 6 - The Aesthetics of Anatomy/References/KeithPoses2-9-scaled.jpg 285.9 KiB
-
Week 6 - The Aesthetics of Anatomy/References/KeithPoses2-10.jpg 18.5 MiB
-
Week 6 - The Aesthetics of Anatomy/References/KeithPoses2-11-scaled.jpg 290.3 KiB
-
Week 6 - The Aesthetics of Anatomy/References/KeithPoses2-12-scaled.jpg 383.6 KiB
-
Week 6 - The Aesthetics of Anatomy/References/KeithPoses2-13.jpg 18.1 MiB
-
Week 6 - The Aesthetics of Anatomy/References/KeithPoses2-14.jpg 18.5 MiB
-
Week 6 - The Aesthetics of Anatomy/References/KeithPoses2-15-scaled.jpg 249.4 KiB
-
Week 6 - The Aesthetics of Anatomy/References/KeithPoses2-16-scaled.jpg 270.6 KiB
-
Week 6 - The Aesthetics of Anatomy/References/KeithPoses2-17-scaled.jpg 394.2 KiB
-
Week 6 - The Aesthetics of Anatomy/References/KeithPoses2-18.jpg 16.6 MiB
-
Week 6 - The Aesthetics of Anatomy/References/KeithPoses2-19.jpg 18.5 MiB
-
Week 6 - The Aesthetics of Anatomy/References/KeithPoses2-20.jpg 18.3 MiB
-
Week 6 - The Aesthetics of Anatomy/References/KeithPoses2-21.jpg 18.6 MiB
-
Week 6 - The Aesthetics of Anatomy/References/KeithPoses2-22.jpg 16.6 MiB
-
Week 6 - The Aesthetics of Anatomy/References/KeithPoses2-23.jpg 18.1 MiB
-
Week 6 - The Aesthetics of Anatomy/References/KeithPoses2-24.jpg 19.4 MiB
-
Week 6 - The Aesthetics of Anatomy/References/KeithPoses2-25.jpg 18.2 MiB
-
Week 6 - The Aesthetics of Anatomy/References/Raffael.jpg 537.6 KiB
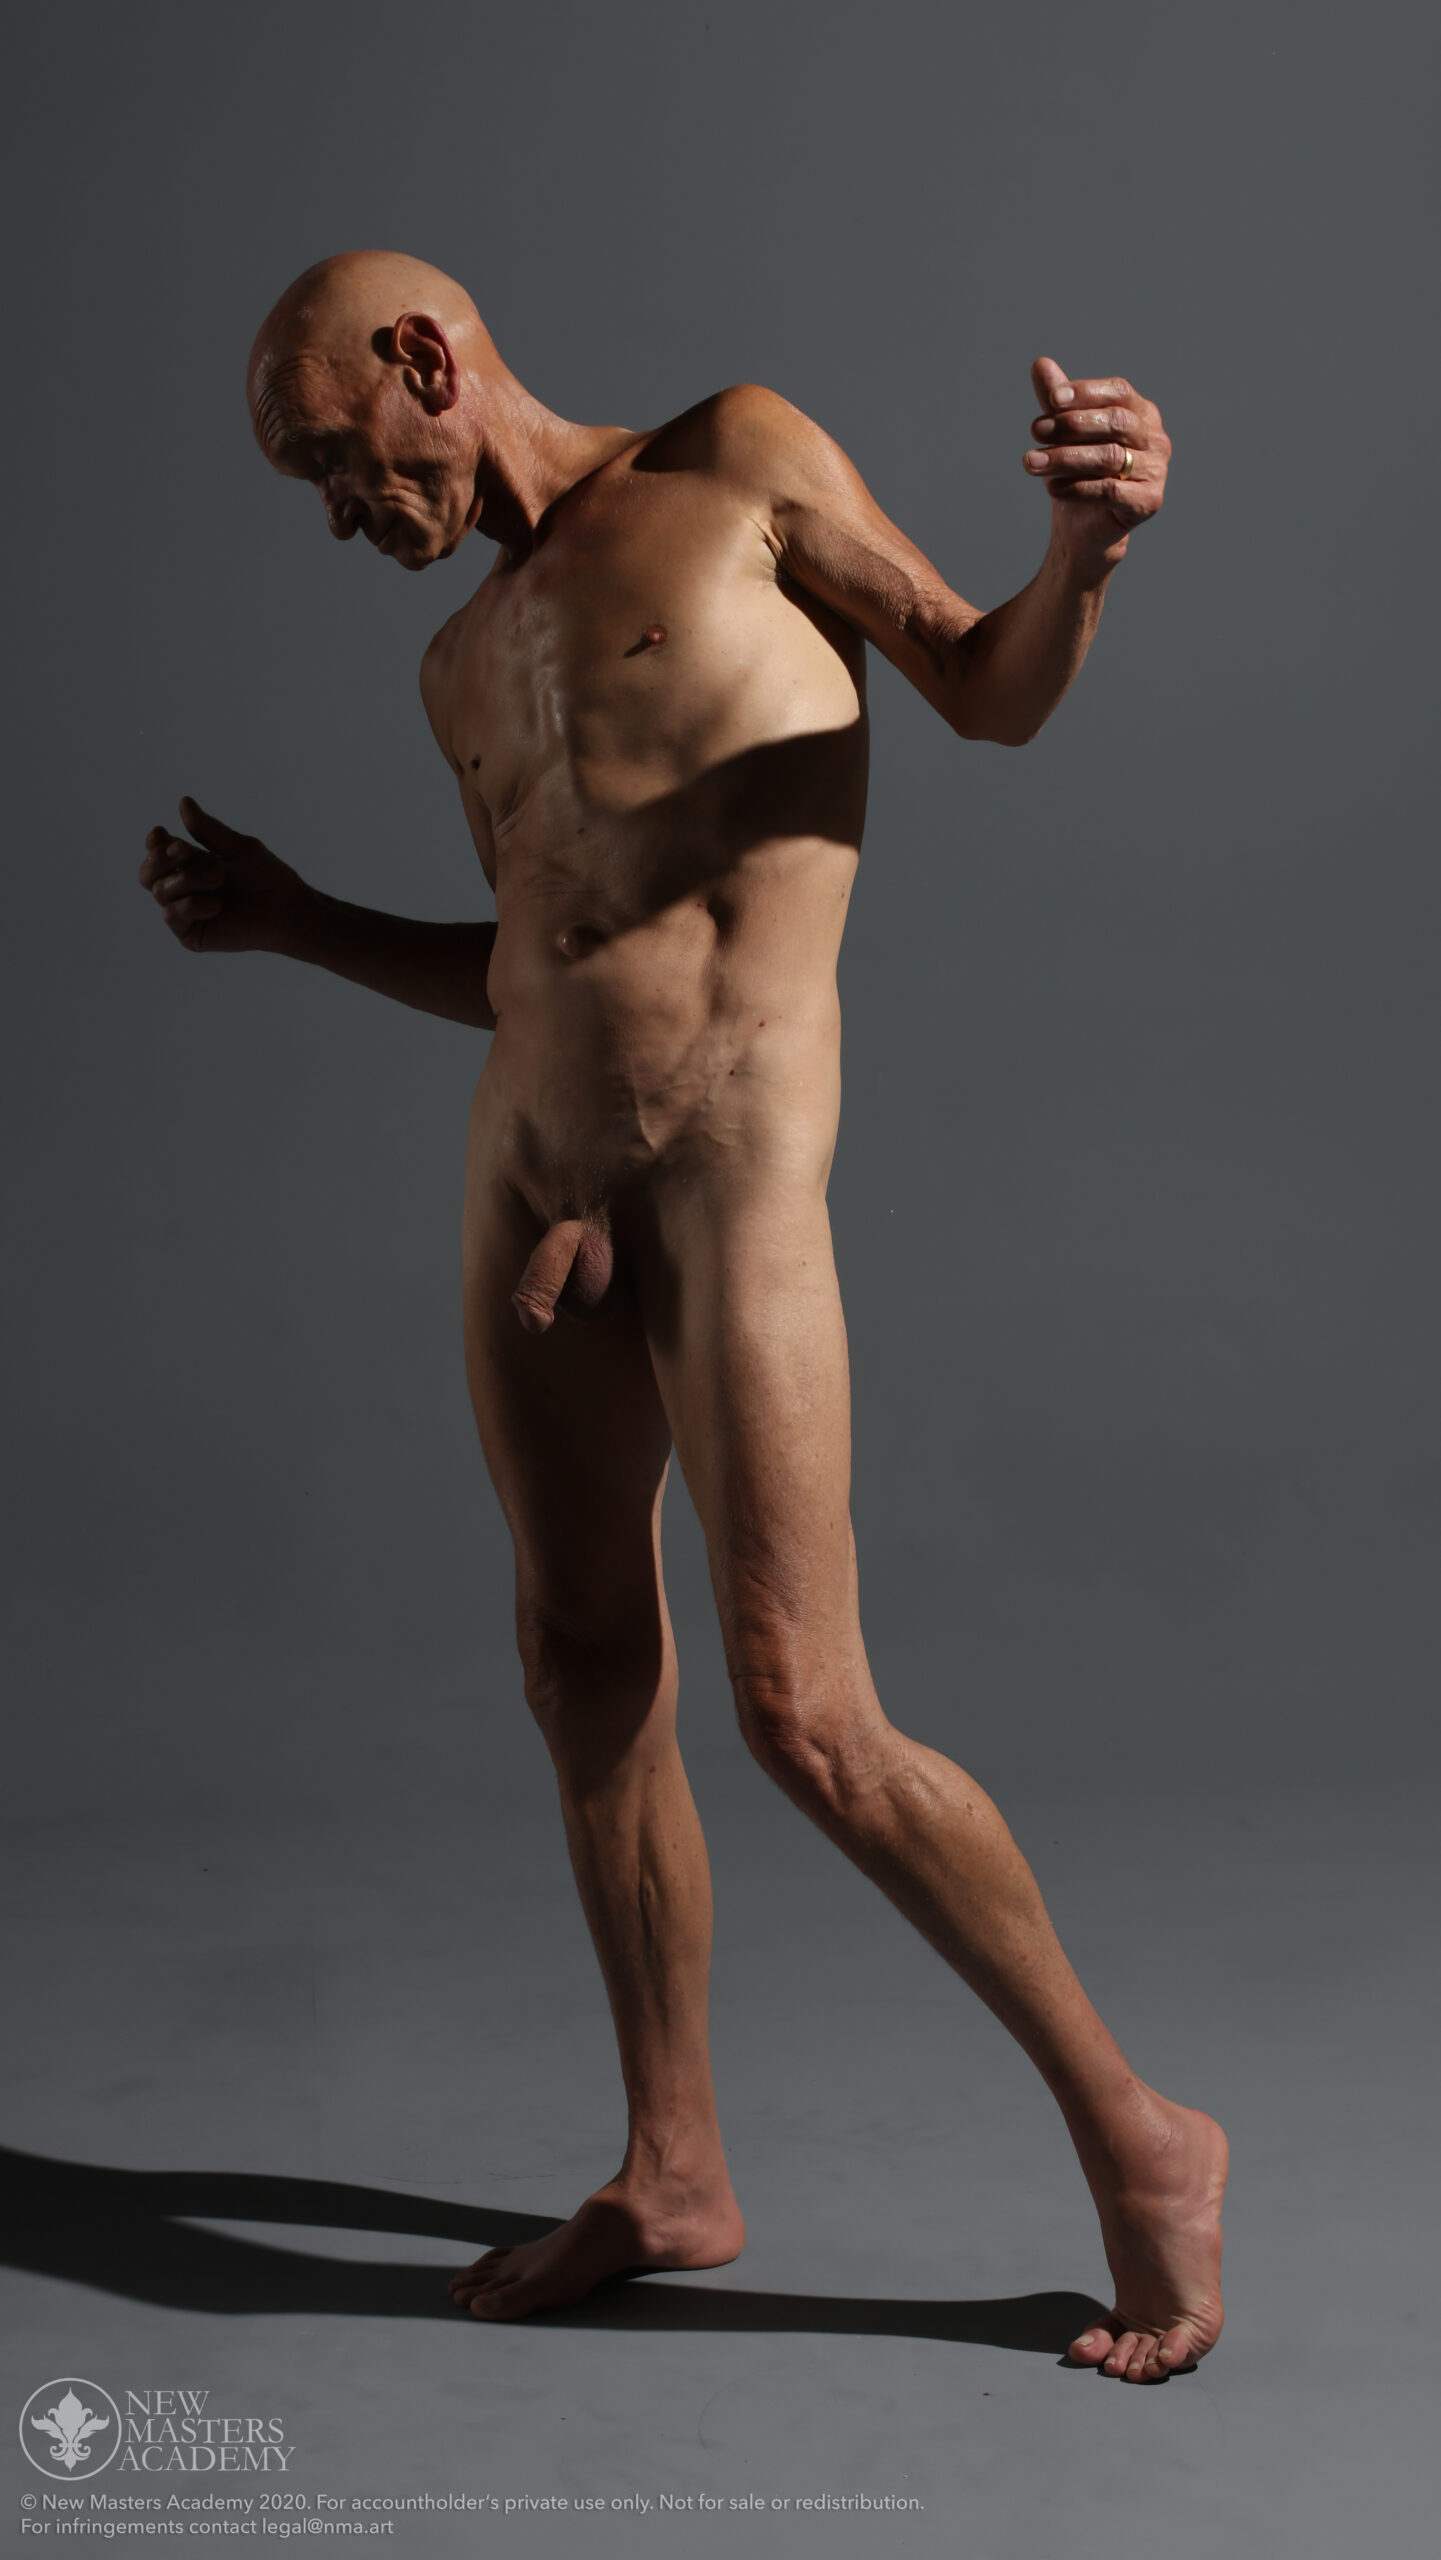
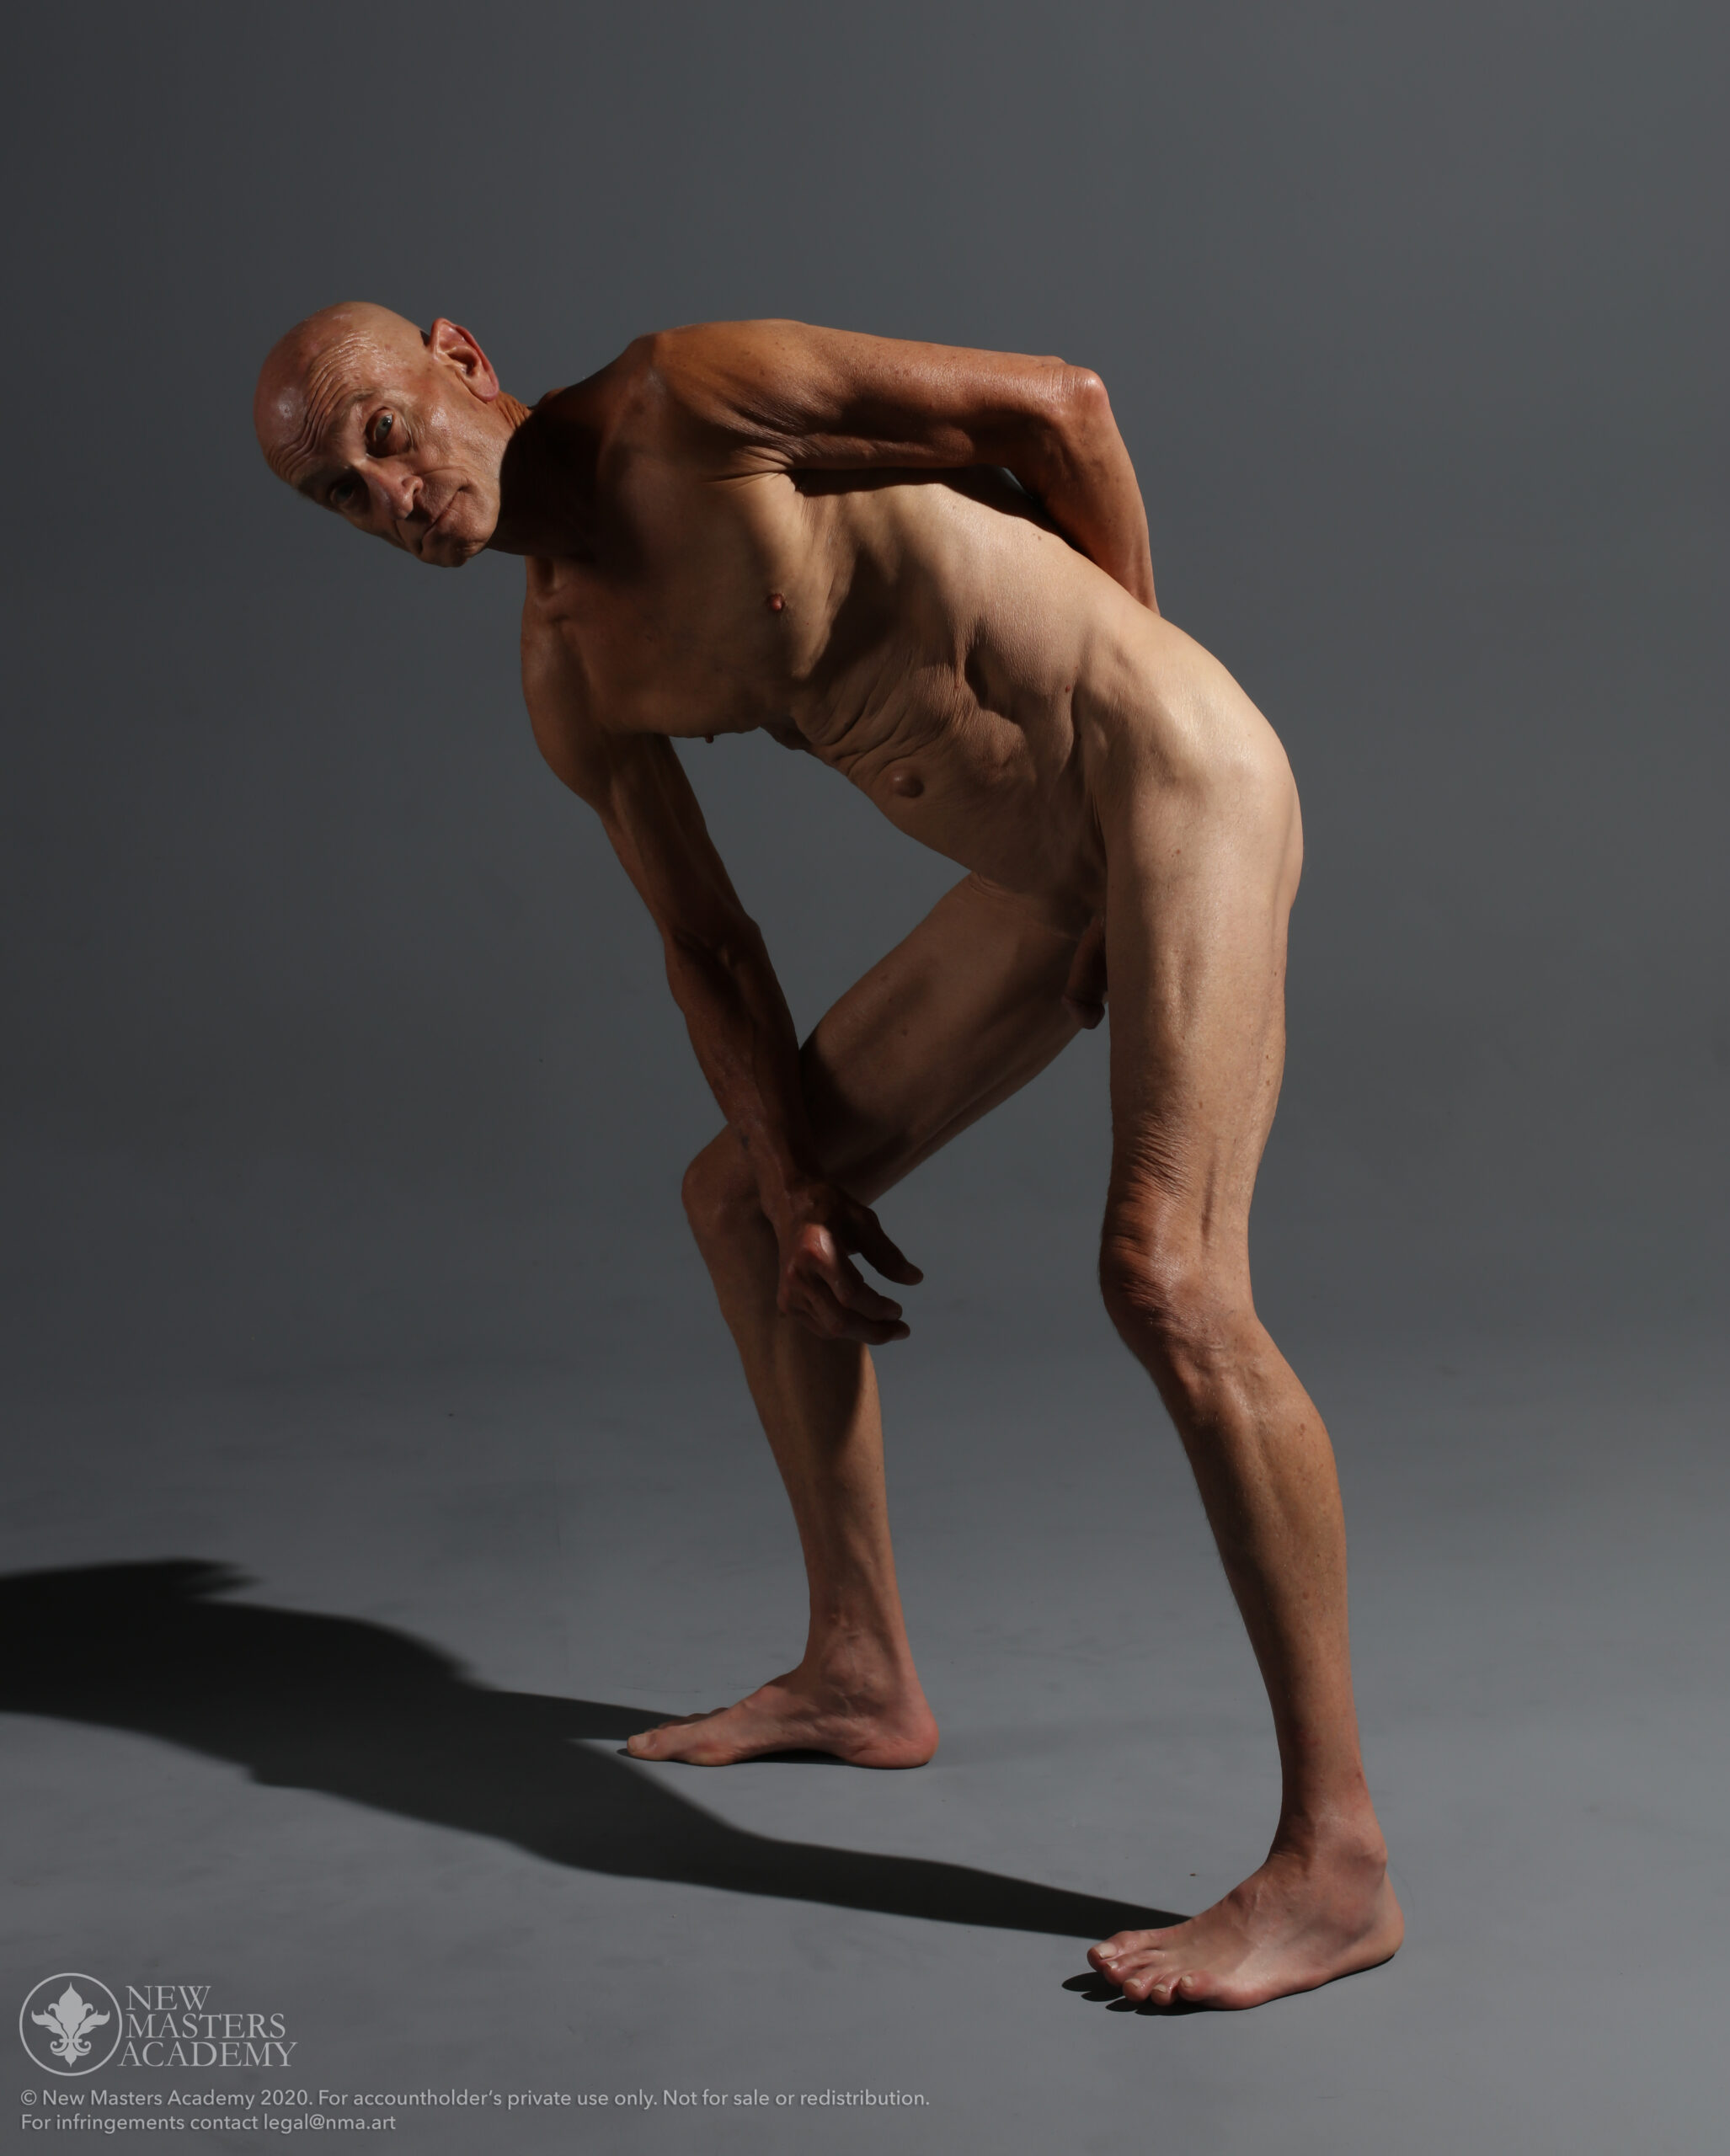
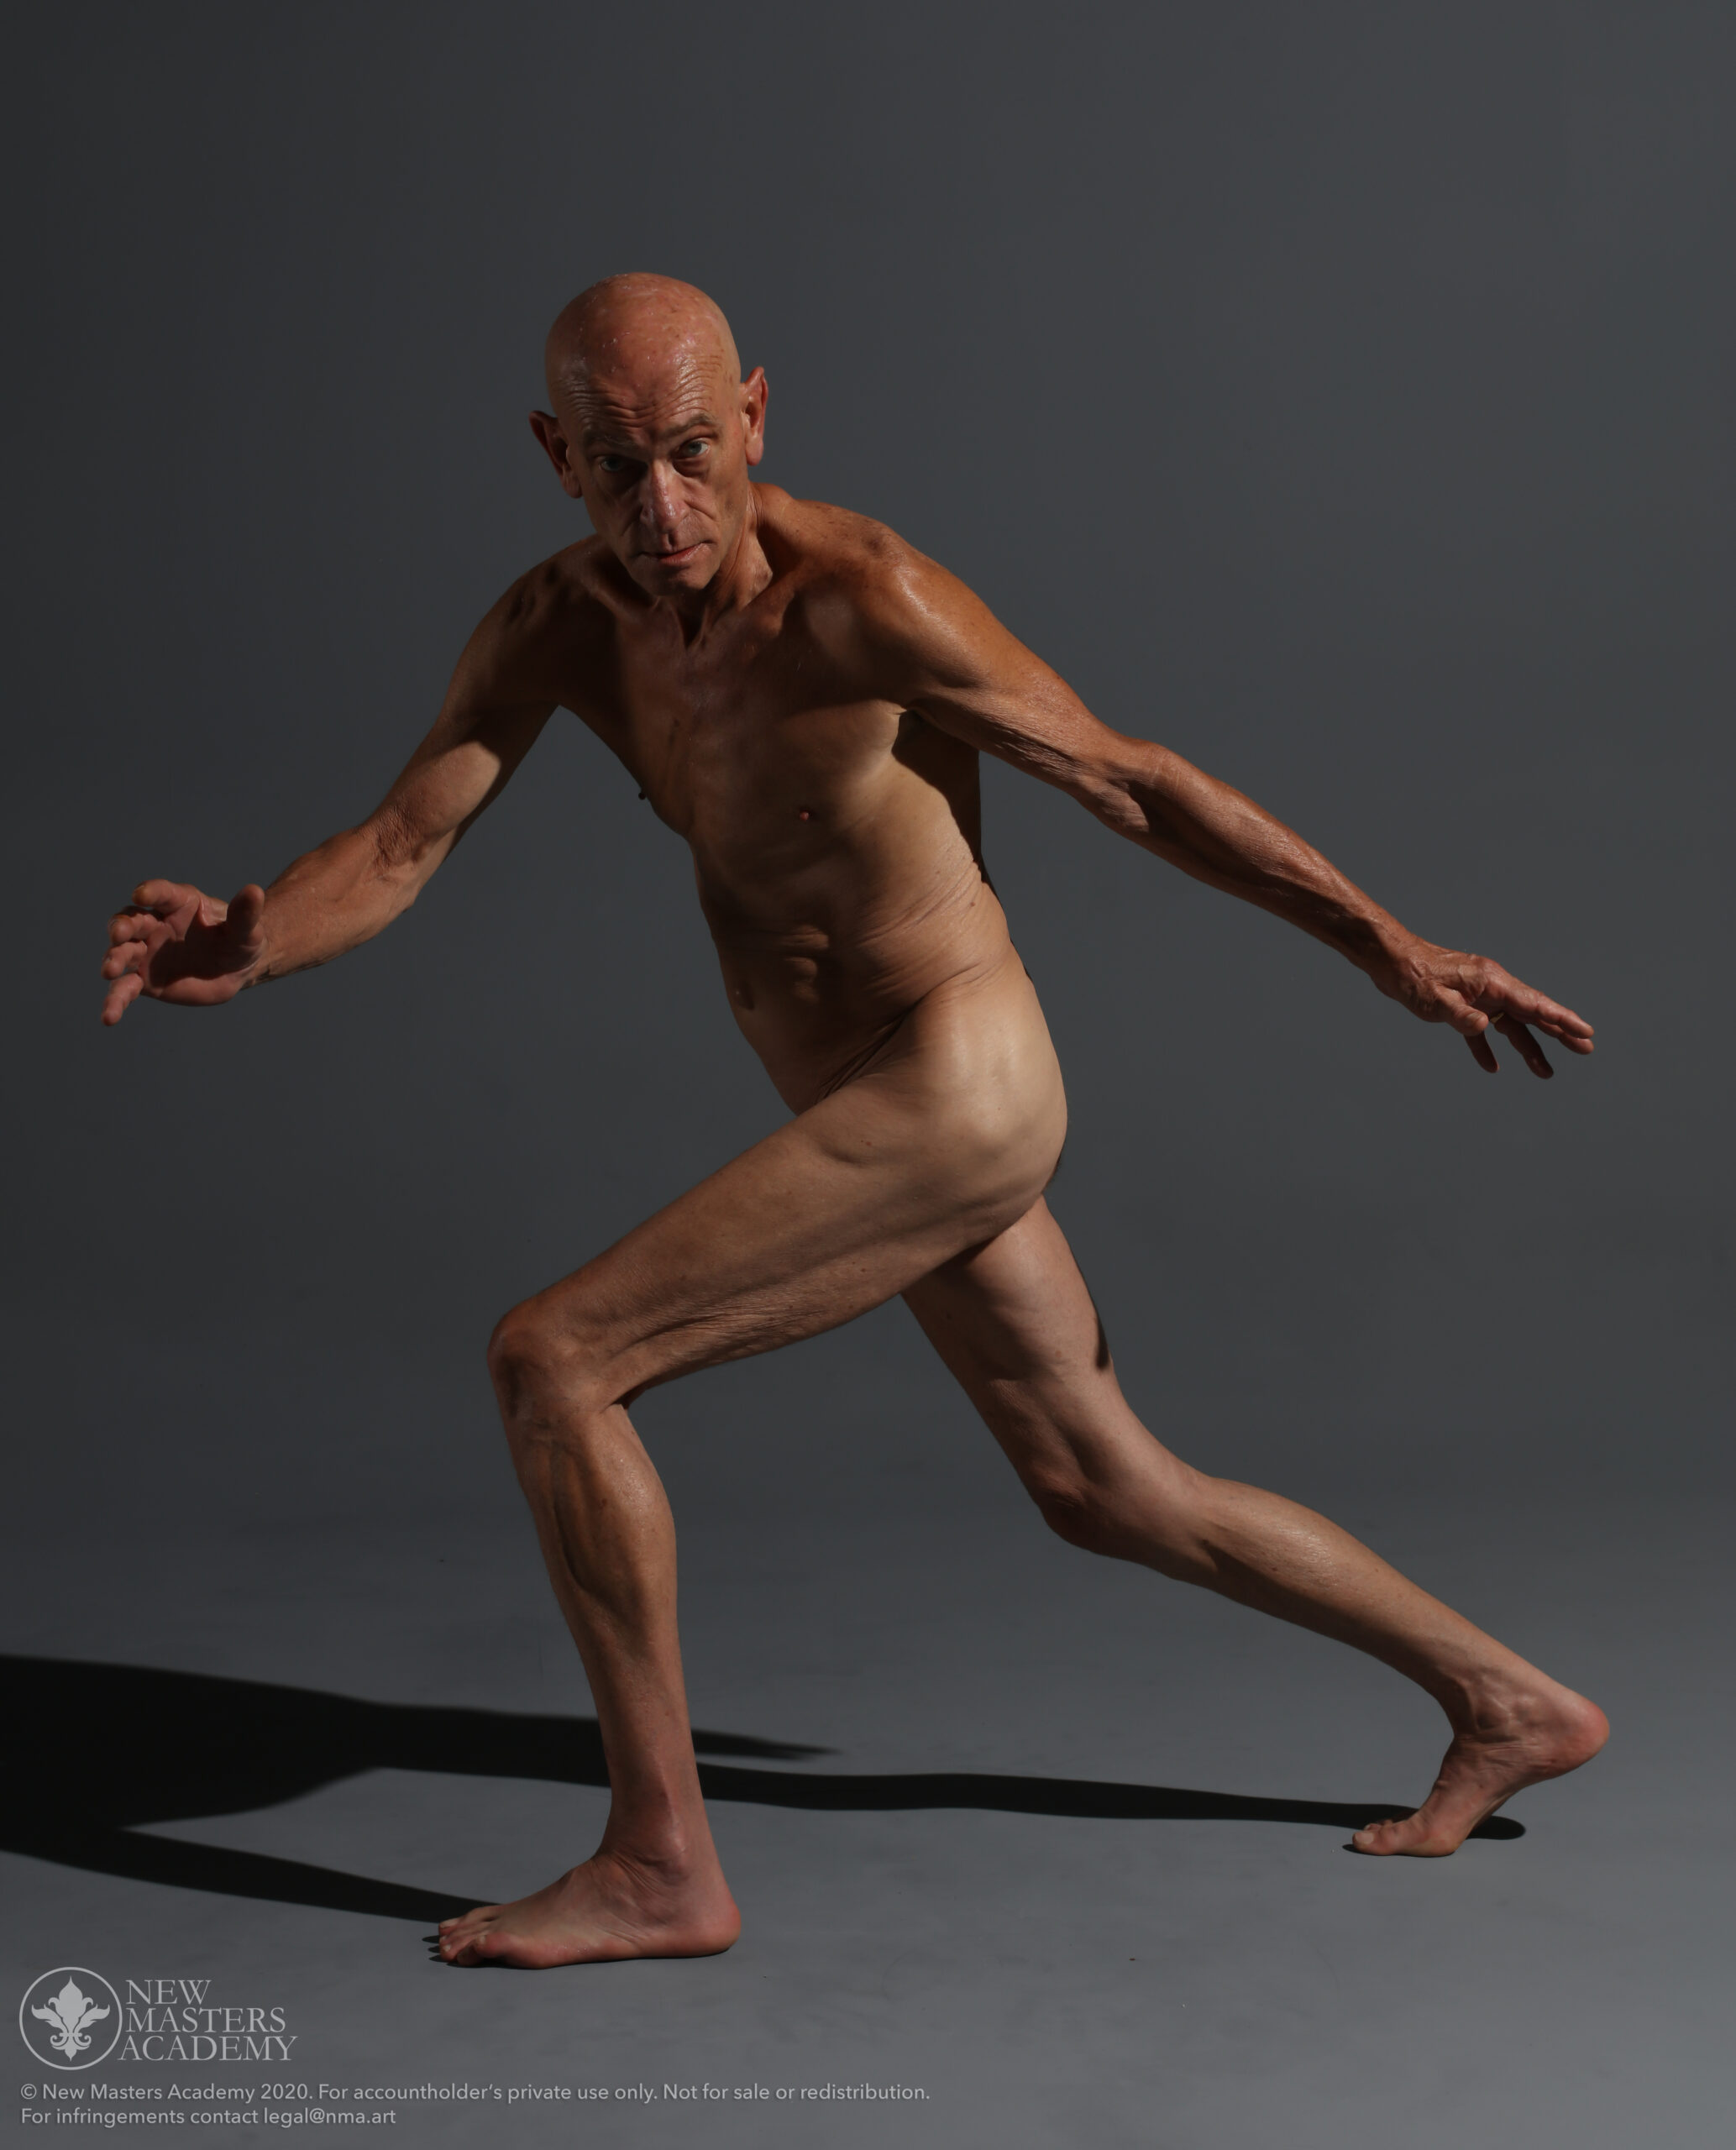
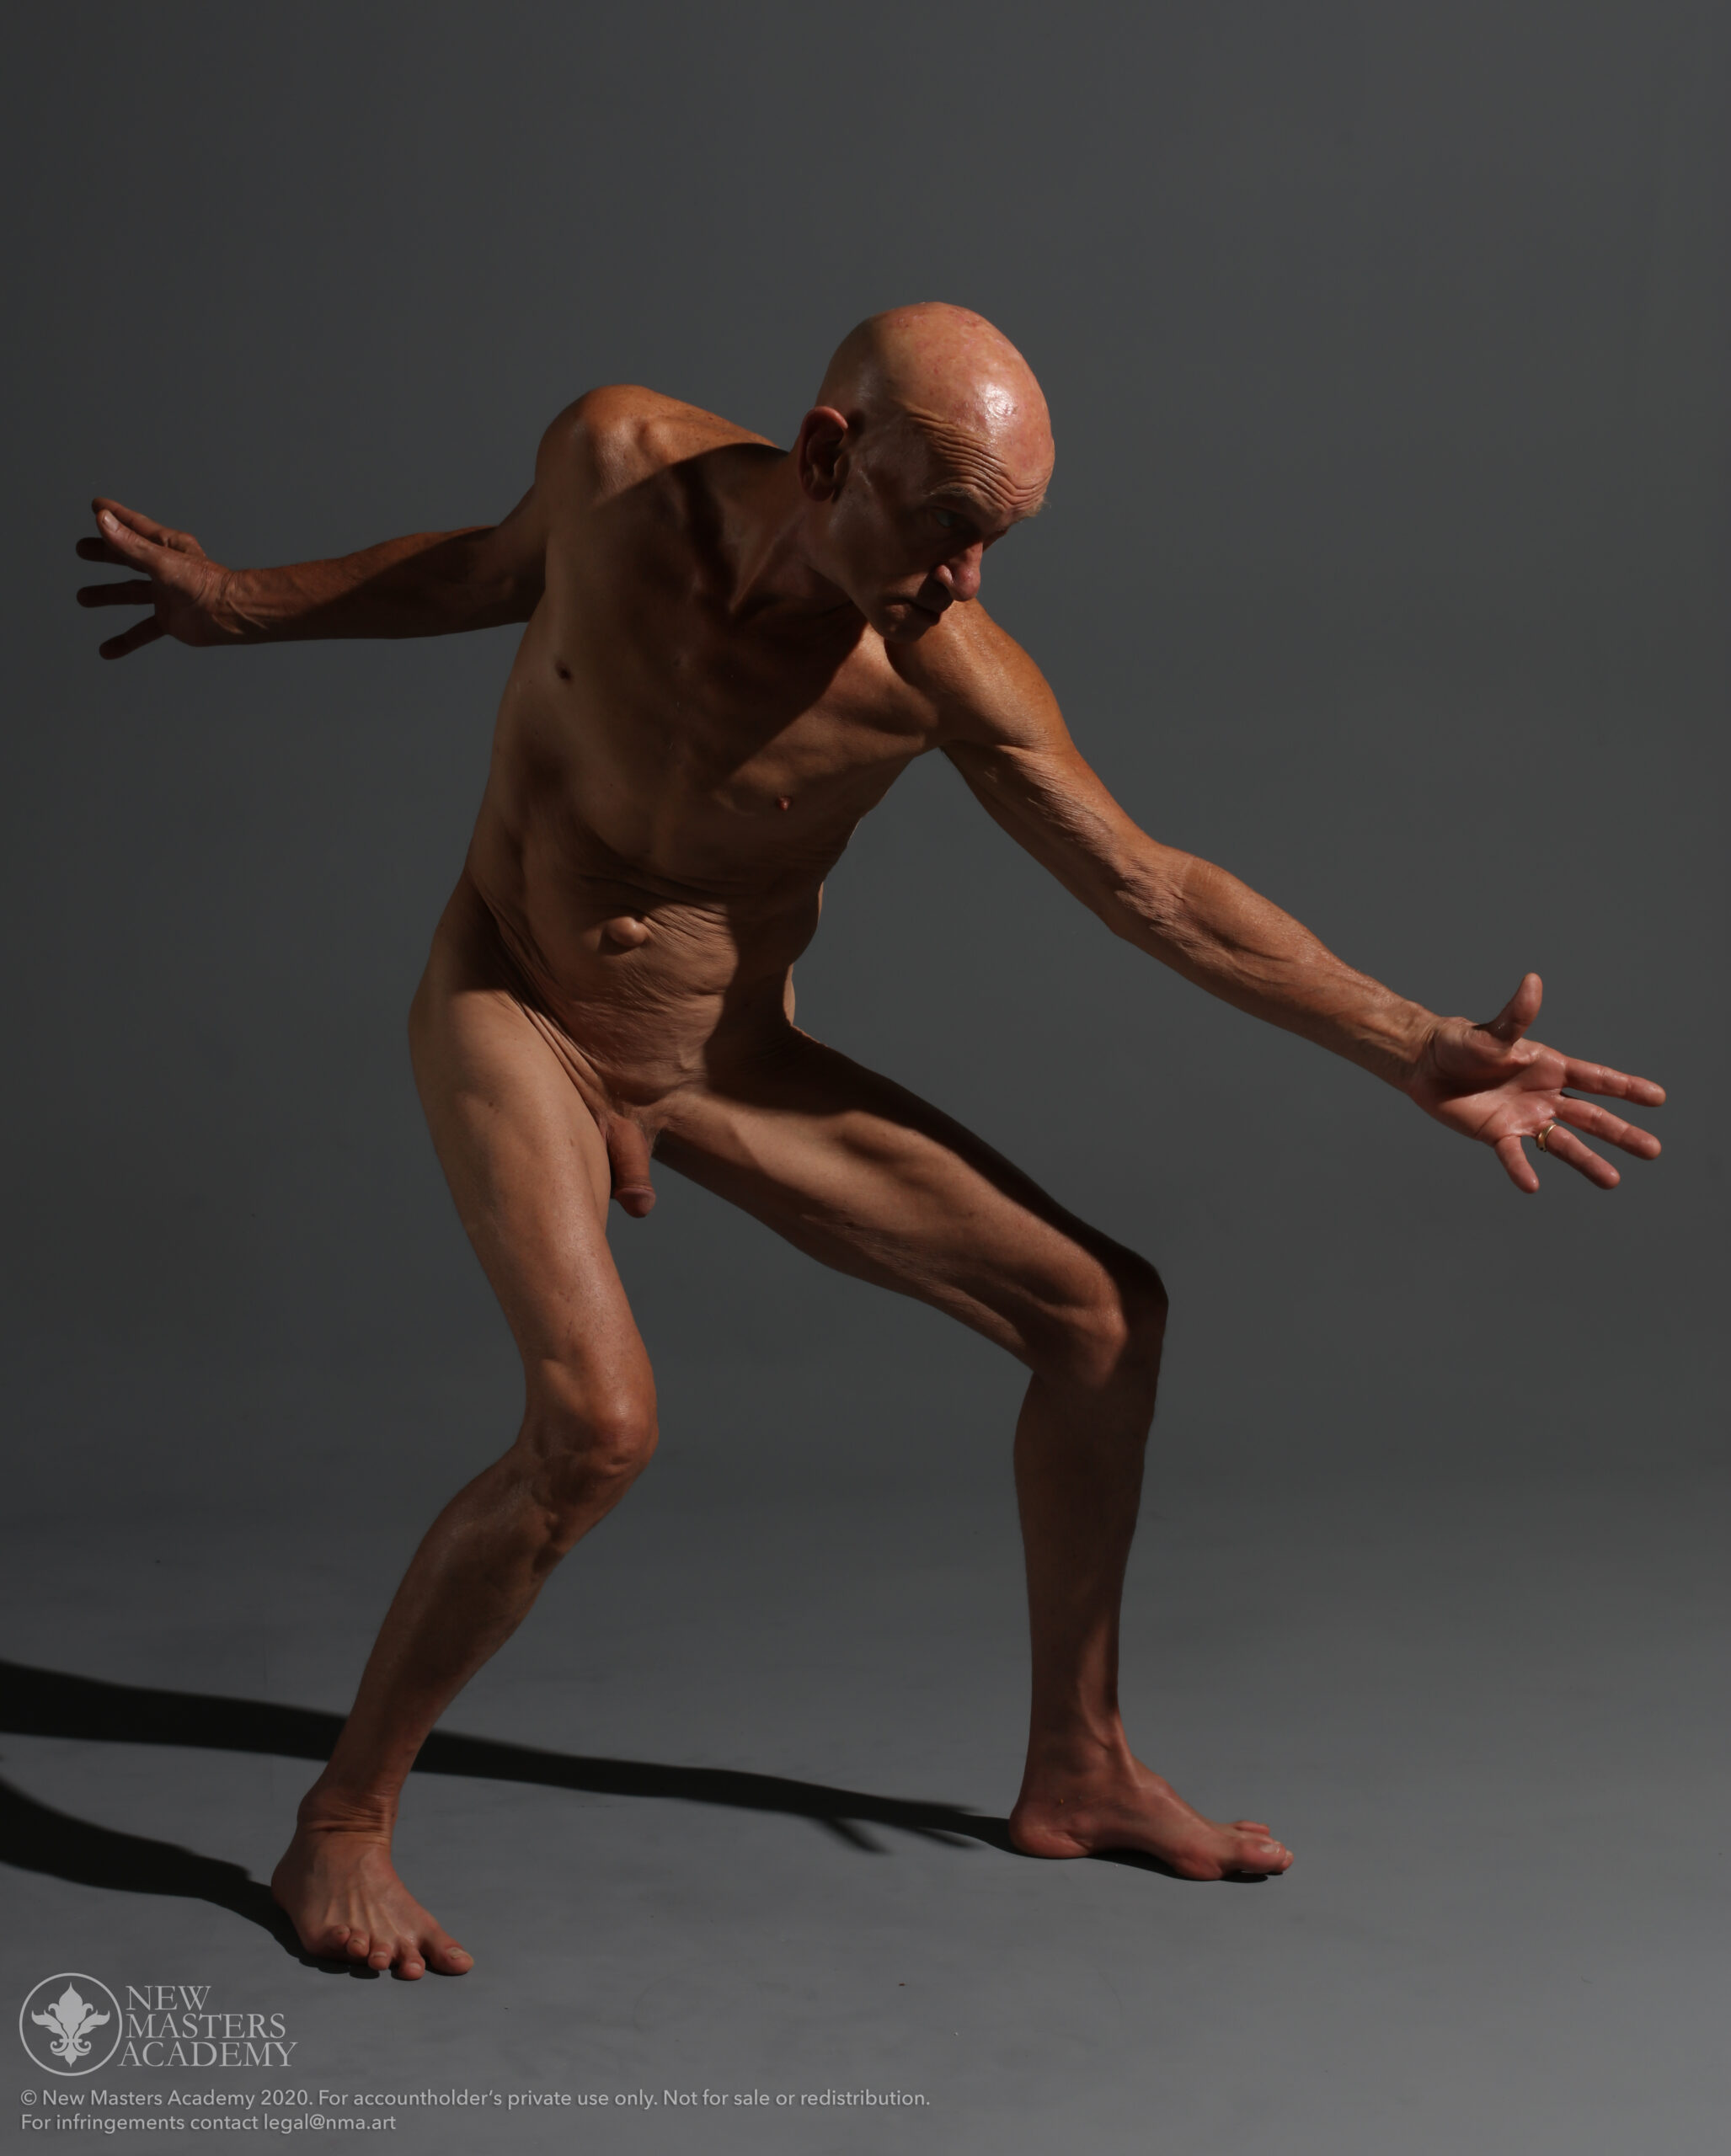
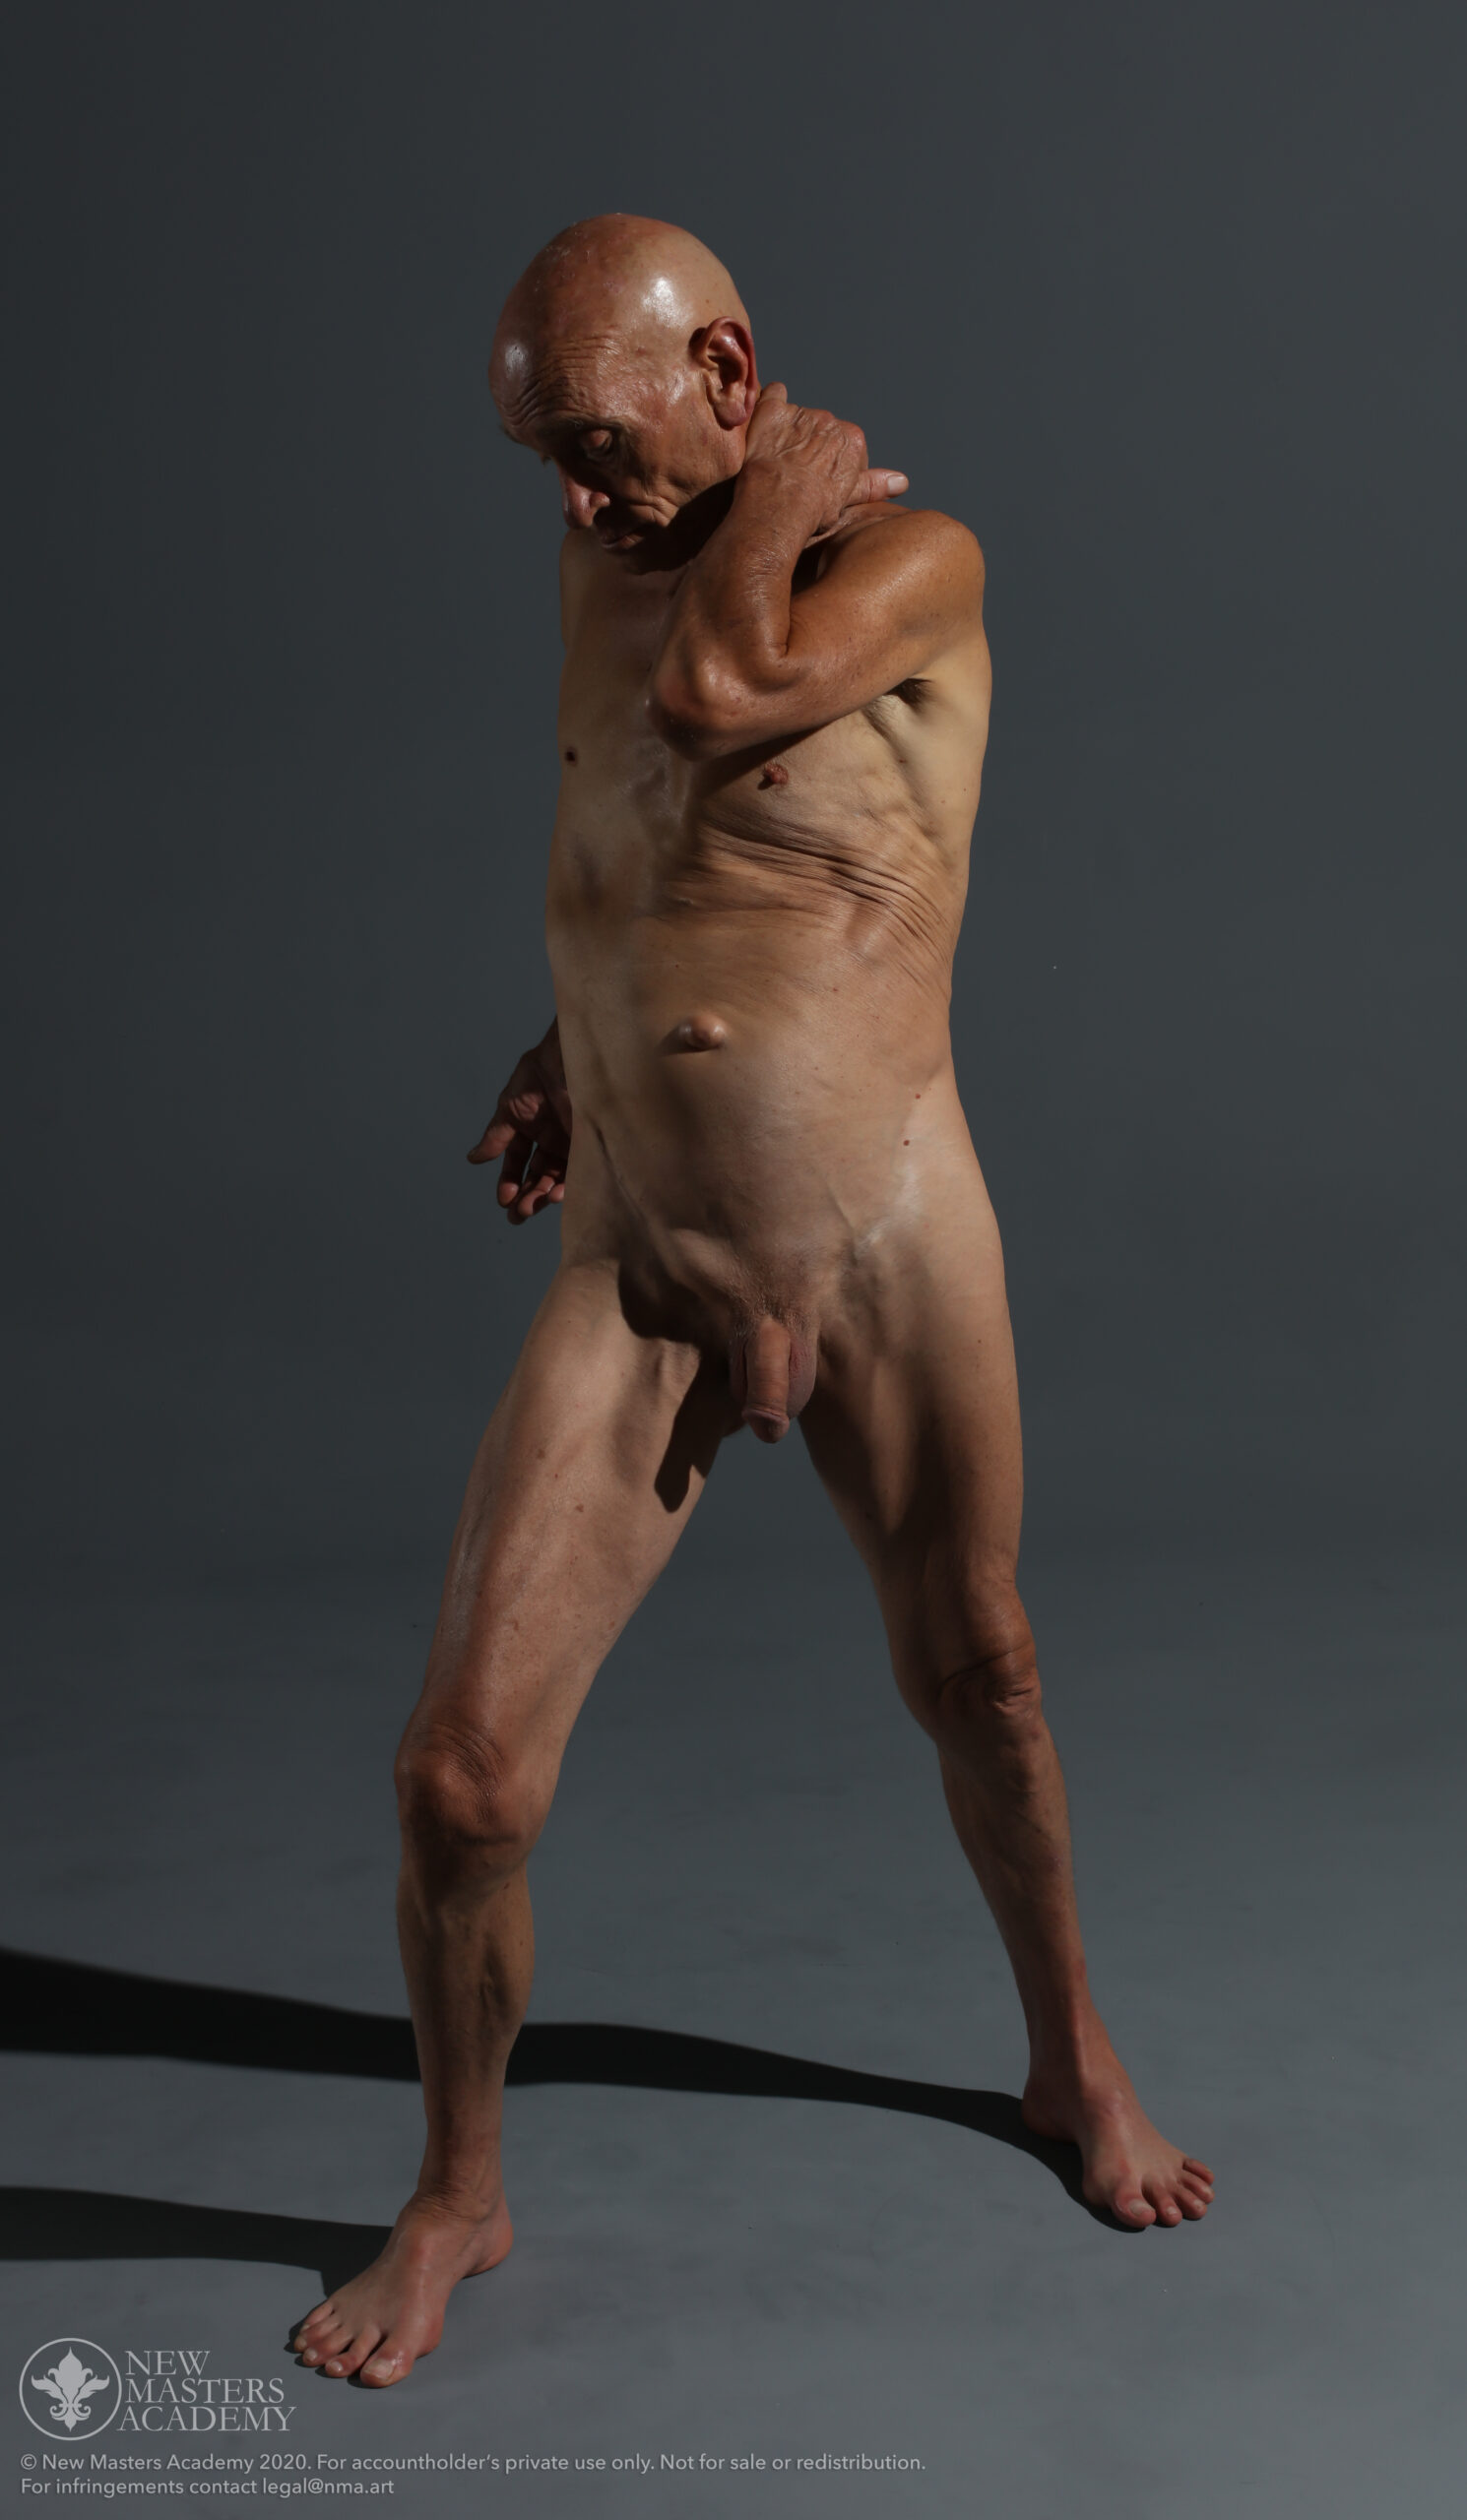
캐시된 이미지는 본 사이트가 토런트에서 가져와 정적으로 제공하는 것이며, 캐시되지 않은 이미지는 파일명만 표시합니다.
파일 목록
| 경로 | 크기 |
|---|---|
| Preview.mp4 | 24.1 MiB |
| Week 1 - Intro to the Human Machine/01. Course Introduction.mp4 | 25.9 MiB |
| Week 1 - Intro to the Human Machine/02. Learning Recommendation.mp4 | 14.6 MiB |
| Week 1 - Intro to the Human Machine/03. Structure & Gesture.mp4 | 197.8 MiB |
| Week 1 - Intro to the Human Machine/04. Learning Recommendation.mp4 | 14.6 MiB |
| Week 1 - Intro to the Human Machine/05. Figure Warm-Up Poses.mp4 | 457.3 MiB |
| Week 1 - Intro to the Human Machine/06. Human Figure as a Machine.mp4 | 503.2 MiB |
| Week 1 - Intro to the Human Machine/07. Simplified Rib Cage.mp4 | 560.0 MiB |
| Week 1 - Intro to the Human Machine/08. Assignment 1.mp4 | 14.7 MiB |
| Week 1 - Intro to the Human Machine/09. Balance of the Figure.mp4 | 475.6 MiB |
| Week 1 - Intro to the Human Machine/10. Drawing Principles to Describe Anatomy.mp4 | 537.5 MiB |
| Week 1 - Intro to the Human Machine/11. Rhythms of Anatomy.mp4 | 254.8 MiB |
| Week 1 - Intro to the Human Machine/12. How Rhythm Relates to Construction.mp4 | 253.5 MiB |
| Week 1 - Intro to the Human Machine/13. Assignment 2.mp4 | 14.7 MiB |
| Week 1 - Intro to the Human Machine/14. Outro.mp4 | 20.2 MiB |
| Week 1 - Intro to the Human Machine/15. Assignment 3.mp4 | 14.7 MiB |
| Week 1 - Intro to the Human Machine/AA_L1_Assignments_LT.pdf | 313.0 KiB |
| Week 1 - Intro to the Human Machine/References/AASH_-1.jpg | 10.6 MiB |
| Week 1 - Intro to the Human Machine/References/AASH_-2-scaled.jpg | 201.1 KiB |
| Week 1 - Intro to the Human Machine/References/AASH_-3.jpg | 11.3 MiB |
| Week 1 - Intro to the Human Machine/References/AASH_-4-scaled.jpg | 260.6 KiB |
| Week 1 - Intro to the Human Machine/References/AASH_-5.jpg | 11.6 MiB |
| Week 1 - Intro to the Human Machine/References/AASH_-6-scaled.jpg | 249.6 KiB |
| Week 1 - Intro to the Human Machine/References/AASH_-7-scaled.jpg | 240.6 KiB |
| Week 1 - Intro to the Human Machine/References/AASH_-8-scaled.jpg | 193.9 KiB |
| Week 1 - Intro to the Human Machine/References/AASH_-9-scaled.jpg | 203.6 KiB |
| Week 1 - Intro to the Human Machine/References/AASH_-10.jpg | 12.6 MiB |
| Week 1 - Intro to the Human Machine/References/AASH_-11-1-scaled.jpg | 349.1 KiB |
| Week 1 - Intro to the Human Machine/References/AASH_-11.jpg | 11.2 MiB |
| Week 1 - Intro to the Human Machine/References/AASH_-12-1-scaled.jpg | 420.8 KiB |
| Week 1 - Intro to the Human Machine/References/AASH_-12.jpg | 13.5 MiB |
| Week 1 - Intro to the Human Machine/References/AASH_-13-1-scaled.jpg | 296.3 KiB |
| Week 1 - Intro to the Human Machine/References/AASH_-13-scaled.jpg | 228.2 KiB |
| Week 1 - Intro to the Human Machine/References/AASH_-14.jpg | 11.0 MiB |
| Week 1 - Intro to the Human Machine/References/AASH_-15.jpg | 9.8 MiB |
| Week 1 - Intro to the Human Machine/References/AASH_-16-scaled.jpg | 319.1 KiB |
| Week 1 - Intro to the Human Machine/References/AASH_-17-scaled.jpg | 250.0 KiB |
| Week 1 - Intro to the Human Machine/References/AASH_-18-scaled.jpg | 306.6 KiB |
| Week 1 - Intro to the Human Machine/References/AASH_-19-scaled.jpg | 196.3 KiB |
| Week 1 - Intro to the Human Machine/References/AASH_-20-scaled.jpg | 306.2 KiB |
| Week 1 - Intro to the Human Machine/References/AASH_-21-scaled.jpg | 189.8 KiB |
| Week 1 - Intro to the Human Machine/References/AASH_-22.jpg | 12.7 MiB |
| Week 1 - Intro to the Human Machine/References/AASH_-23-scaled.jpg | 334.8 KiB |
| Week 1 - Intro to the Human Machine/References/AASH_-24-scaled.jpg | 251.8 KiB |
| Week 1 - Intro to the Human Machine/References/AASH_-25-scaled.jpg | 262.5 KiB |
| Week 1 - Intro to the Human Machine/References/AASH_-26-scaled.jpg | 286.5 KiB |
| Week 1 - Intro to the Human Machine/References/AASH_-27-scaled.jpg | 211.6 KiB |
| Week 1 - Intro to the Human Machine/References/AASH_-28-scaled.jpg | 335.1 KiB |
| Week 1 - Intro to the Human Machine/References/AASH_-29-scaled.jpg | 210.5 KiB |
| Week 1 - Intro to the Human Machine/References/AASH_-30-scaled.jpg | 204.6 KiB |
| Week 1 - Intro to the Human Machine/References/AASH_-31-scaled.jpg | 245.2 KiB |
| Week 1 - Intro to the Human Machine/References/AASH_-32-scaled.jpg | 246.7 KiB |
| Week 1 - Intro to the Human Machine/References/AASH_-33-scaled.jpg | 236.6 KiB |
| Week 1 - Intro to the Human Machine/References/AASH_-34-scaled.jpg | 244.0 KiB |
| Week 1 - Intro to the Human Machine/References/AASH_-35-scaled.jpg | 287.3 KiB |
| Week 1 - Intro to the Human Machine/References/AASH_-36.jpg | 12.7 MiB |
| Week 1 - Intro to the Human Machine/References/AASH_-37.jpg | 12.6 MiB |
| Week 1 - Intro to the Human Machine/References/AASH_-38.jpg | 13.1 MiB |
| Week 1 - Intro to the Human Machine/References/AASH_-39.jpg | 13.5 MiB |
| Week 1 - Intro to the Human Machine/References/AASH_-61-scaled.jpg | 429.1 KiB |
| Week 1 - Intro to the Human Machine/References/AASH_-63-scaled.jpg | 528.3 KiB |
| Week 1 - Intro to the Human Machine/References/AASH_-67-scaled.jpg | 439.2 KiB |
| Week 1 - Intro to the Human Machine/References/AASH_-74-scaled.jpg | 300.3 KiB |
| Week 1 - Intro to the Human Machine/References/week_01_banner.jpg | 191.0 KiB |
| Week 2 - The Shoulder Girdle/01. Learning Recommendation.mp4 | 14.6 MiB |
| Week 2 - The Shoulder Girdle/02. Shoulder Girdle Live Model Demo.mp4 | 305.8 MiB |
| Week 2 - The Shoulder Girdle/03. Assignment 1.mp4 | 14.7 MiB |
| Week 2 - The Shoulder Girdle/04. Shoulder Girdle Rear View.mp4 | 463.3 MiB |
| Week 2 - The Shoulder Girdle/05. Placing the Scapula.mp4 | 461.8 MiB |
| Week 2 - The Shoulder Girdle/06. Planes of the Upper Torso.mp4 | 356.4 MiB |
| Week 2 - The Shoulder Girdle/07. Mechanics of Muscle.mp4 | 202.1 MiB |
| Week 2 - The Shoulder Girdle/08. Assignment 2.mp4 | 14.7 MiB |
| Week 2 - The Shoulder Girdle/09. Neck and Trapezius.mp4 | 377.4 MiB |
| Week 2 - The Shoulder Girdle/10. Assignment 3.mp4 | 14.7 MiB |
| Week 2 - The Shoulder Girdle/AA-L2_AssignmentsLT.pdf | 538.9 KiB |
| Week 2 - The Shoulder Girdle/References/AASH_-4-1-scaled.jpg | 493.2 KiB |
| Week 2 - The Shoulder Girdle/References/AASH_-45-scaled.jpg | 431.5 KiB |
| Week 2 - The Shoulder Girdle/References/AASH_-54-scaled.jpg | 419.1 KiB |
| Week 2 - The Shoulder Girdle/References/AASH_-58-scaled.jpg | 441.1 KiB |
| Week 2 - The Shoulder Girdle/References/AASH_-62-scaled.jpg | 502.4 KiB |
| Week 2 - The Shoulder Girdle/References/AASH_-64-scaled.jpg | 413.4 KiB |
| Week 2 - The Shoulder Girdle/References/AASH_-65-scaled.jpg | 371.2 KiB |
| Week 2 - The Shoulder Girdle/References/Same References as Week 1.txt | 0 B |
| Week 3 - The Torso/01. Lighting Anatomical Structures.mp4 | 312.8 MiB |
| Week 3 - The Torso/02. Learning Recommendation.mp4 | 14.6 MiB |
| Week 3 - The Torso/03. Binary Lighting Approach.mp4 | 661.3 MiB |
| Week 3 - The Torso/04. Simplify Your Lighting.mp4 | 486.3 MiB |
| Week 3 - The Torso/05. Upper Torso.mp4 | 664.7 MiB |
| Week 3 - The Torso/06. Compression of the Upper Back.mp4 | 411.1 MiB |
| Week 3 - The Torso/07. Placing the Scapulae on the Ribcage.mp4 | 309.1 MiB |
| Week 3 - The Torso/08. Zigzags Across the Torso.mp4 | 179.3 MiB |
| Week 3 - The Torso/09. Articulations of the Shoulder.mp4 | 69.6 MiB |
| Week 3 - The Torso/10. Assignment 1.mp4 | 14.7 MiB |
| Week 3 - The Torso/11. Using Solids to Simplify Anatomy.mp4 | 171.9 MiB |
| Week 3 - The Torso/12. Assignment 2.mp4 | 14.7 MiB |
| Week 3 - The Torso/13. Applying Lighting to Anatomy.mp4 | 404.5 MiB |
| Week 3 - The Torso/14. Rendering the Upper Back.mp4 | 157.7 MiB |
| Week 3 - The Torso/15. Assignment 3.mp4 | 14.7 MiB |
| Week 3 - The Torso/AA_L3_AssignmentsLT.pdf | 772.7 KiB |
| Week 3 - The Torso/References/AASH_-2-1-scaled.jpg | 439.7 KiB |
| Week 3 - The Torso/References/AASH_-3-1-scaled.jpg | 551.6 KiB |
| Week 3 - The Torso/References/AASH_-5-1-scaled.jpg | 949.5 KiB |
| Week 3 - The Torso/References/AASH_-14-1-scaled.jpg | 533.5 KiB |
| Week 3 - The Torso/References/AASH_-41-scaled.jpg | 461.4 KiB |
| Week 3 - The Torso/References/AASH_-69-scaled.jpg | 411.8 KiB |
| Week 3 - The Torso/References/AASH_-71-scaled.jpg | 538.2 KiB |
| Week 3 - The Torso/References/AASH_-72-scaled.jpg | 320.1 KiB |
| Week 3 - The Torso/References/MAP_-1.jpg | 16.3 MiB |
| Week 3 - The Torso/References/MAP_-2.jpg | 16.8 MiB |
| Week 3 - The Torso/References/MAP_-3.jpg | 16.3 MiB |
| Week 3 - The Torso/References/MAP_-4.jpg | 16.4 MiB |
| Week 3 - The Torso/References/MAP_-5.jpg | 16.6 MiB |
| Week 3 - The Torso/References/MAP_-6.jpg | 16.5 MiB |
| Week 3 - The Torso/References/MAP_-7.jpg | 16.1 MiB |
| Week 3 - The Torso/References/MAP_-8.jpg | 16.2 MiB |
| Week 3 - The Torso/References/MAP_-9.jpg | 16.7 MiB |
| Week 3 - The Torso/References/MAP_-10.jpg | 16.4 MiB |
| Week 3 - The Torso/References/MAP_-11.jpg | 15.9 MiB |
| Week 3 - The Torso/References/MAP_-12.jpg | 13.0 MiB |
| Week 3 - The Torso/References/MAP_-13.jpg | 13.0 MiB |
| Week 3 - The Torso/References/MAP_-14.jpg | 15.7 MiB |
| Week 3 - The Torso/References/MAP_-15.jpg | 15.6 MiB |
| Week 3 - The Torso/References/MAP_-16.jpg | 15.6 MiB |
| Week 3 - The Torso/References/MAP_-17.jpg | 15.8 MiB |
| Week 3 - The Torso/References/MAP_-18.jpg | 15.6 MiB |
| Week 3 - The Torso/References/MAP_-19.jpg | 15.7 MiB |
| Week 3 - The Torso/References/MAP_-20.jpg | 15.6 MiB |
| Week 3 - The Torso/References/MAP_-21.jpg | 15.6 MiB |
| Week 3 - The Torso/References/MAP_-22.jpg | 16.0 MiB |
| Week 3 - The Torso/References/MAP_-23.jpg | 15.7 MiB |
| Week 3 - The Torso/References/MAP_-24.jpg | 15.9 MiB |
| Week 3 - The Torso/References/MAP_-25-scaled.jpg | 245.8 KiB |
| Week 3 - The Torso/References/MAP_-26.jpg | 15.2 MiB |
| Week 3 - The Torso/References/MAP_-27.jpg | 15.8 MiB |
| Week 3 - The Torso/References/MAP_-28.jpg | 15.5 MiB |
| Week 3 - The Torso/References/MAP_-29.jpg | 15.3 MiB |
| Week 3 - The Torso/References/MAP_-30.jpg | 14.0 MiB |
| Week 3 - The Torso/References/MAP_-31.jpg | 15.4 MiB |
| Week 3 - The Torso/References/MAP_-32.jpg | 12.2 MiB |
| Week 3 - The Torso/References/MAP_-33.jpg | 15.2 MiB |
| Week 3 - The Torso/References/MAP_-34.jpg | 15.1 MiB |
| Week 3 - The Torso/References/MAP_-35.jpg | 15.1 MiB |
| Week 3 - The Torso/References/MAP_-36.jpg | 15.3 MiB |
| Week 3 - The Torso/References/MAP_-37.jpg | 15.1 MiB |
| Week 3 - The Torso/References/MAP_-38.jpg | 15.2 MiB |
| Week 3 - The Torso/References/MAP_-39.jpg | 15.2 MiB |
| Week 4 - The Limbs/01. Learning Recommendation.mp4 | 14.6 MiB |
| Week 4 - The Limbs/02. Pelvis and Balance.mp4 | 552.6 MiB |
| Week 4 - The Limbs/03. Pelvis from Rear View.mp4 | 339.1 MiB |
| Week 4 - The Limbs/04. The Leg Rear View.mp4 | 883.8 MiB |
| Week 4 - The Limbs/05. Assignment 1.mp4 | 14.7 MiB |
| Week 4 - The Limbs/06. Mechanics of the Limbs.mp4 | 570.4 MiB |
| Week 4 - The Limbs/07. Movements of the Arm.mp4 | 460.1 MiB |
| Week 4 - The Limbs/08. Radius and Ulna.mp4 | 305.3 MiB |
| Week 4 - The Limbs/09. Rhythms of the Arm.mp4 | 124.0 MiB |
| Week 4 - The Limbs/10. Assignment 2.mp4 | 14.7 MiB |
| Week 4 - The Limbs/11. Live Demo of Knee.mp4 | 50.3 MiB |
| Week 4 - The Limbs/12. Attaching Upper to Lower Leg.mp4 | 424.0 MiB |
| Week 4 - The Limbs/13. Upper Leg & Hip.mp4 | 247.4 MiB |
| Week 4 - The Limbs/14. Fluidity of Leg.mp4 | 238.4 MiB |
| Week 4 - The Limbs/15. Bent Knee.mp4 | 297.5 MiB |
| Week 4 - The Limbs/16. Knee & Elbow Analogy.mp4 | 176.1 MiB |
| Week 4 - The Limbs/17. Assignment 3.mp4 | 14.7 MiB |
| Week 4 - The Limbs/L4_LimbsSimplifiedLT.pdf | 628.7 KiB |
| Week 4 - The Limbs/References/AASH_-6-1-scaled.jpg | 639.7 KiB |
| Week 4 - The Limbs/References/AASH_-7-1-scaled.jpg | 449.5 KiB |
| Week 4 - The Limbs/References/AASH_-8-1-scaled.jpg | 422.8 KiB |
| Week 4 - The Limbs/References/AASH_-9-1-scaled.jpg | 453.0 KiB |
| Week 4 - The Limbs/References/AASH_-10-1-scaled.jpg | 367.6 KiB |
| Week 4 - The Limbs/References/AASH_-40-scaled.jpg | 738.9 KiB |
| Week 4 - The Limbs/References/AASH_-42-scaled.jpg | 451.4 KiB |
| Week 4 - The Limbs/References/AASH_-43-scaled.jpg | 441.6 KiB |
| Week 4 - The Limbs/References/AASH_-44-scaled.jpg | 363.5 KiB |
| Week 4 - The Limbs/References/AASH_-60-scaled.jpg | 477.4 KiB |
| Week 4 - The Limbs/References/MAP_-11.jpg | 15.9 MiB |
| Week 4 - The Limbs/References/MAP_-12.jpg | 13.0 MiB |
| Week 4 - The Limbs/References/MAP_-13.jpg | 13.0 MiB |
| Week 4 - The Limbs/References/MAP_-14.jpg | 15.7 MiB |
| Week 4 - The Limbs/References/MAP_-15.jpg | 15.6 MiB |
| Week 4 - The Limbs/References/MAP_-16.jpg | 15.6 MiB |
| Week 4 - The Limbs/References/MAP_-17.jpg | 15.8 MiB |
| Week 4 - The Limbs/References/MAP_-18.jpg | 15.6 MiB |
| Week 4 - The Limbs/References/MAP_-19.jpg | 15.7 MiB |
| Week 4 - The Limbs/References/MAP_-20.jpg | 15.6 MiB |
| Week 4 - The Limbs/References/MAP_-21.jpg | 15.6 MiB |
| Week 4 - The Limbs/References/MAP_-22.jpg | 16.0 MiB |
| Week 4 - The Limbs/References/MAP_-23.jpg | 15.7 MiB |
| Week 4 - The Limbs/References/MAP_-24.jpg | 15.9 MiB |
| Week 4 - The Limbs/References/MAP_-25-scaled.jpg | 245.8 KiB |
| Week 4 - The Limbs/References/MAP_-26.jpg | 15.2 MiB |
| Week 4 - The Limbs/References/MAP_-27.jpg | 15.8 MiB |
| Week 4 - The Limbs/References/MAP_-28.jpg | 15.5 MiB |
| Week 4 - The Limbs/References/MAP_-29.jpg | 15.3 MiB |
| Week 4 - The Limbs/References/MAP_-30.jpg | 14.0 MiB |
| Week 4 - The Limbs/References/MAP_-31.jpg | 15.4 MiB |
| Week 4 - The Limbs/References/MAP_-32.jpg | 12.2 MiB |
| Week 4 - The Limbs/References/MAP_-33.jpg | 15.2 MiB |
| Week 4 - The Limbs/References/MAP_-34.jpg | 15.1 MiB |
| Week 4 - The Limbs/References/MAP_-35.jpg | 15.1 MiB |
| Week 4 - The Limbs/References/MAP_-36.jpg | 15.3 MiB |
| Week 4 - The Limbs/References/MAP_-37.jpg | 15.1 MiB |
| Week 4 - The Limbs/References/MAP_-38.jpg | 15.2 MiB |
| Week 4 - The Limbs/References/MAP_-39.jpg | 15.2 MiB |
| Week 5 - Hands & Feet/01. Assignment 1.mp4 | 14.7 MiB |
| Week 5 - Hands & Feet/02. Introduction.mp4 | 16.8 MiB |
| Week 5 - Hands & Feet/03. Learning Recommendation.mp4 | 14.6 MiB |
| Week 5 - Hands & Feet/04. The Wrist Live Demo.mp4 | 307.2 MiB |
| Week 5 - Hands & Feet/05. Basic Hand & Finger Construction.mp4 | 245.5 MiB |
| Week 5 - Hands & Feet/06. Character of the Thumb.mp4 | 301.5 MiB |
| Week 5 - Hands & Feet/07. Metacarpals to Carpals.mp4 | 265.2 MiB |
| Week 5 - Hands & Feet/08. How to Place Fingers.mp4 | 707.5 MiB |
| Week 5 - Hands & Feet/09. Boxy Wrist.mp4 | 369.9 MiB |
| Week 5 - Hands & Feet/10. Assignment 2.mp4 | 14.7 MiB |
| Week 5 - Hands & Feet/11. Ankle Foot Live Demo.mp4 | 230.2 MiB |
| Week 5 - Hands & Feet/12. Structure of Foot.mp4 | 326.8 MiB |
| Week 5 - Hands & Feet/13. Construction of Ankle.mp4 | 251.2 MiB |
| Week 5 - Hands & Feet/14. Toe Construction.mp4 | 187.0 MiB |
| Week 5 - Hands & Feet/15. Placement of Toes.mp4 | 184.1 MiB |
| Week 5 - Hands & Feet/16. Foot at Difficult Angles.mp4 | 193.1 MiB |
| Week 5 - Hands & Feet/17. Architecture of Foot.mp4 | 227.5 MiB |
| Week 5 - Hands & Feet/18. Step and Sole.mp4 | 137.0 MiB |
| Week 5 - Hands & Feet/19. Lower Leg Foot Demo.mp4 | 562.2 MiB |
| Week 5 - Hands & Feet/20. Assignment 3.mp4 | 14.7 MiB |
| Week 5 - Hands & Feet/L5_Hands-and-Feet_LT.pdf | 727.0 KiB |
| Week 5 - Hands & Feet/References/AASH_-46-scaled.jpg | 560.9 KiB |
| Week 5 - Hands & Feet/References/AASH_-47-scaled.jpg | 427.1 KiB |
| Week 5 - Hands & Feet/References/AASH_-48-scaled.jpg | 493.3 KiB |
| Week 5 - Hands & Feet/References/AASH_-49-scaled.jpg | 363.3 KiB |
| Week 5 - Hands & Feet/References/AASH_-50-scaled.jpg | 379.5 KiB |
| Week 5 - Hands & Feet/References/AASH_-51-scaled.jpg | 408.1 KiB |
| Week 5 - Hands & Feet/References/AASH_-52-scaled.jpg | 371.2 KiB |
| Week 5 - Hands & Feet/References/AASH_-53-scaled.jpg | 394.2 KiB |
| Week 5 - Hands & Feet/References/AASH_-55-scaled.jpg | 460.3 KiB |
| Week 5 - Hands & Feet/References/AASH_-56-scaled.jpg | 452.4 KiB |
| Week 5 - Hands & Feet/References/AASH_-57-scaled.jpg | 429.7 KiB |
| Week 5 - Hands & Feet/References/AASH_-59-scaled.jpg | 393.1 KiB |
| Week 5 - Hands & Feet/References/KeithPoses2-1-scaled.jpg | 212.0 KiB |
| Week 5 - Hands & Feet/References/KeithPoses2-2.jpg | 14.8 MiB |
| Week 5 - Hands & Feet/References/KeithPoses2-3-scaled.jpg | 213.0 KiB |
| Week 5 - Hands & Feet/References/KeithPoses2-4.jpg | 15.5 MiB |
| Week 5 - Hands & Feet/References/KeithPoses2-5-scaled.jpg | 261.0 KiB |
| Week 5 - Hands & Feet/References/KeithPoses2-6-scaled.jpg | 294.5 KiB |
| Week 5 - Hands & Feet/References/KeithPoses2-7-scaled.jpg | 302.4 KiB |
| Week 5 - Hands & Feet/References/KeithPoses2-8.jpg | 18.5 MiB |
| Week 5 - Hands & Feet/References/KeithPoses2-9-scaled.jpg | 285.9 KiB |
| Week 5 - Hands & Feet/References/KeithPoses2-10.jpg | 18.5 MiB |
| Week 5 - Hands & Feet/References/KeithPoses2-11-scaled.jpg | 290.3 KiB |
| Week 5 - Hands & Feet/References/KeithPoses2-12-scaled.jpg | 383.6 KiB |
| Week 5 - Hands & Feet/References/KeithPoses2-13.jpg | 18.1 MiB |
| Week 5 - Hands & Feet/References/KeithPoses2-15-scaled.jpg | 249.4 KiB |
| Week 5 - Hands & Feet/References/KeithPoses2-16-scaled.jpg | 270.6 KiB |
| Week 5 - Hands & Feet/References/KeithPoses2-17-scaled.jpg | 394.2 KiB |
| Week 5 - Hands & Feet/References/KeithPoses2-18.jpg | 16.6 MiB |
| Week 5 - Hands & Feet/References/KeithPoses2-19.jpg | 18.5 MiB |
| Week 5 - Hands & Feet/References/KeithPoses2-20.jpg | 18.3 MiB |
| Week 5 - Hands & Feet/References/KeithPoses2-21.jpg | 18.6 MiB |
| Week 5 - Hands & Feet/References/KeithPoses2-22.jpg | 16.6 MiB |
| Week 5 - Hands & Feet/References/KeithPoses2-23.jpg | 18.1 MiB |
| Week 5 - Hands & Feet/References/KeithPoses2-24.jpg | 19.4 MiB |
| Week 5 - Hands & Feet/References/KeithPoses2-25.jpg | 18.2 MiB |
| Week 6 - The Aesthetics of Anatomy/01. Master Analysis.mp4 | 19.0 MiB |
| Week 6 - The Aesthetics of Anatomy/02. Learning Recommendation.mp4 | 14.6 MiB |
| Week 6 - The Aesthetics of Anatomy/03. More Master Analysis.mp4 | 270.4 MiB |
| Week 6 - The Aesthetics of Anatomy/04. Assignment 1.mp4 | 14.7 MiB |
| Week 6 - The Aesthetics of Anatomy/05. Learning Recommendation.mp4 | 14.6 MiB |
| Week 6 - The Aesthetics of Anatomy/06. Long Pose 1.mp4 | 709.7 MiB |
| Week 6 - The Aesthetics of Anatomy/07. Long Pose 2.mp4 | 768.3 MiB |
| Week 6 - The Aesthetics of Anatomy/08. Outro.mp4 | 77.1 MiB |
| Week 6 - The Aesthetics of Anatomy/09. Assignment 2.mp4 | 14.7 MiB |
| Week 6 - The Aesthetics of Anatomy/L6_AnatomyAestheticsLT.pdf | 666.2 KiB |
| Week 6 - The Aesthetics of Anatomy/References/1.-A-027-Seated-Male-786x1024-1.jpg | 181.3 KiB |
| Week 6 - The Aesthetics of Anatomy/References/2007BM5740_michelangelo_david_plaster_cast.jpg | 338.5 KiB |
| Week 6 - The Aesthetics of Anatomy/References/AASH_-73-scaled.jpg | 535.0 KiB |
| Week 6 - The Aesthetics of Anatomy/References/DP826907-scaled.jpg | 874.8 KiB |
| Week 6 - The Aesthetics of Anatomy/References/KeithPoses2-1-scaled.jpg | 212.0 KiB |
| Week 6 - The Aesthetics of Anatomy/References/KeithPoses2-2.jpg | 14.8 MiB |
| Week 6 - The Aesthetics of Anatomy/References/KeithPoses2-3-scaled.jpg | 213.0 KiB |
| Week 6 - The Aesthetics of Anatomy/References/KeithPoses2-4.jpg | 15.5 MiB |
| Week 6 - The Aesthetics of Anatomy/References/KeithPoses2-5-scaled.jpg | 261.0 KiB |
| Week 6 - The Aesthetics of Anatomy/References/KeithPoses2-6-scaled.jpg | 294.5 KiB |
| Week 6 - The Aesthetics of Anatomy/References/KeithPoses2-7-scaled.jpg | 302.4 KiB |
| Week 6 - The Aesthetics of Anatomy/References/KeithPoses2-8.jpg | 18.5 MiB |
| Week 6 - The Aesthetics of Anatomy/References/KeithPoses2-9-scaled.jpg | 285.9 KiB |
| Week 6 - The Aesthetics of Anatomy/References/KeithPoses2-10.jpg | 18.5 MiB |
| Week 6 - The Aesthetics of Anatomy/References/KeithPoses2-11-scaled.jpg | 290.3 KiB |
| Week 6 - The Aesthetics of Anatomy/References/KeithPoses2-12-scaled.jpg | 383.6 KiB |
| Week 6 - The Aesthetics of Anatomy/References/KeithPoses2-13.jpg | 18.1 MiB |
| Week 6 - The Aesthetics of Anatomy/References/KeithPoses2-14.jpg | 18.5 MiB |
| Week 6 - The Aesthetics of Anatomy/References/KeithPoses2-15-scaled.jpg | 249.4 KiB |
| Week 6 - The Aesthetics of Anatomy/References/KeithPoses2-16-scaled.jpg | 270.6 KiB |
| Week 6 - The Aesthetics of Anatomy/References/KeithPoses2-17-scaled.jpg | 394.2 KiB |
| Week 6 - The Aesthetics of Anatomy/References/KeithPoses2-18.jpg | 16.6 MiB |
| Week 6 - The Aesthetics of Anatomy/References/KeithPoses2-19.jpg | 18.5 MiB |
| Week 6 - The Aesthetics of Anatomy/References/KeithPoses2-20.jpg | 18.3 MiB |
| Week 6 - The Aesthetics of Anatomy/References/KeithPoses2-21.jpg | 18.6 MiB |
| Week 6 - The Aesthetics of Anatomy/References/KeithPoses2-22.jpg | 16.6 MiB |
| Week 6 - The Aesthetics of Anatomy/References/KeithPoses2-23.jpg | 18.1 MiB |
| Week 6 - The Aesthetics of Anatomy/References/KeithPoses2-24.jpg | 19.4 MiB |
| Week 6 - The Aesthetics of Anatomy/References/KeithPoses2-25.jpg | 18.2 MiB |
| Week 6 - The Aesthetics of Anatomy/References/Raffael.jpg | 537.6 KiB |
본 사이트는 메타데이터만 색인하며 콘텐츠 파일 다운로드는 제공하지 않습니다. 이 항목 신고